A dock ladder is a very versatile, often overlooked piece of equipment for your dock. It serves many purposes, from safety to function. Although certainly a must-have for swimmers, it also helps in case of emergency for those who unintentionally end up in the water. Let’s not forget about providing a place for our four-legged friends to exit the water.
Choosing a Replacement Dock Ladder
Choosing the correct ladder for your specific dock is important, as there are many different types. Material, length, rung type, and design are the most common considerations. Let’s look at these in more detail below.
Material
Most dock ladders are made of either metal or plastic. There isn’t one material that is best for everyone; let’s look at some examples to see which is right for you.
Metal
Metal dock ladders are very common, and for good reason, as they are durable. You can choose from aluminum, galvanized, or stainless steel.
Galvanized
The most economical style of metal ladder is galvanized. These ladders are good, long-lasting options that will outlive your dock. However, there is one downside, and that’s weight. They are, without a doubt, the heaviest type of dock ladder.
Aluminum
Aluminum is a great option because it’s lightweight and relatively affordable. However, it does lack the strength of other metals.
Stainless Steel
The best option is a dock ladder made of stainless steel. Stainless steel is stronger and more corrosion-resistant than galvanized steel but heavier than aluminum. The main downside of stainless steel is its cost, which can be up to twice as much as galvanized.
Plastic
Plastic, usually derived from polyethylene, is the most economical option. Plastic ladders are great, affordable choices but not as durable as comparable metal options, and the color can fade over time.
Length
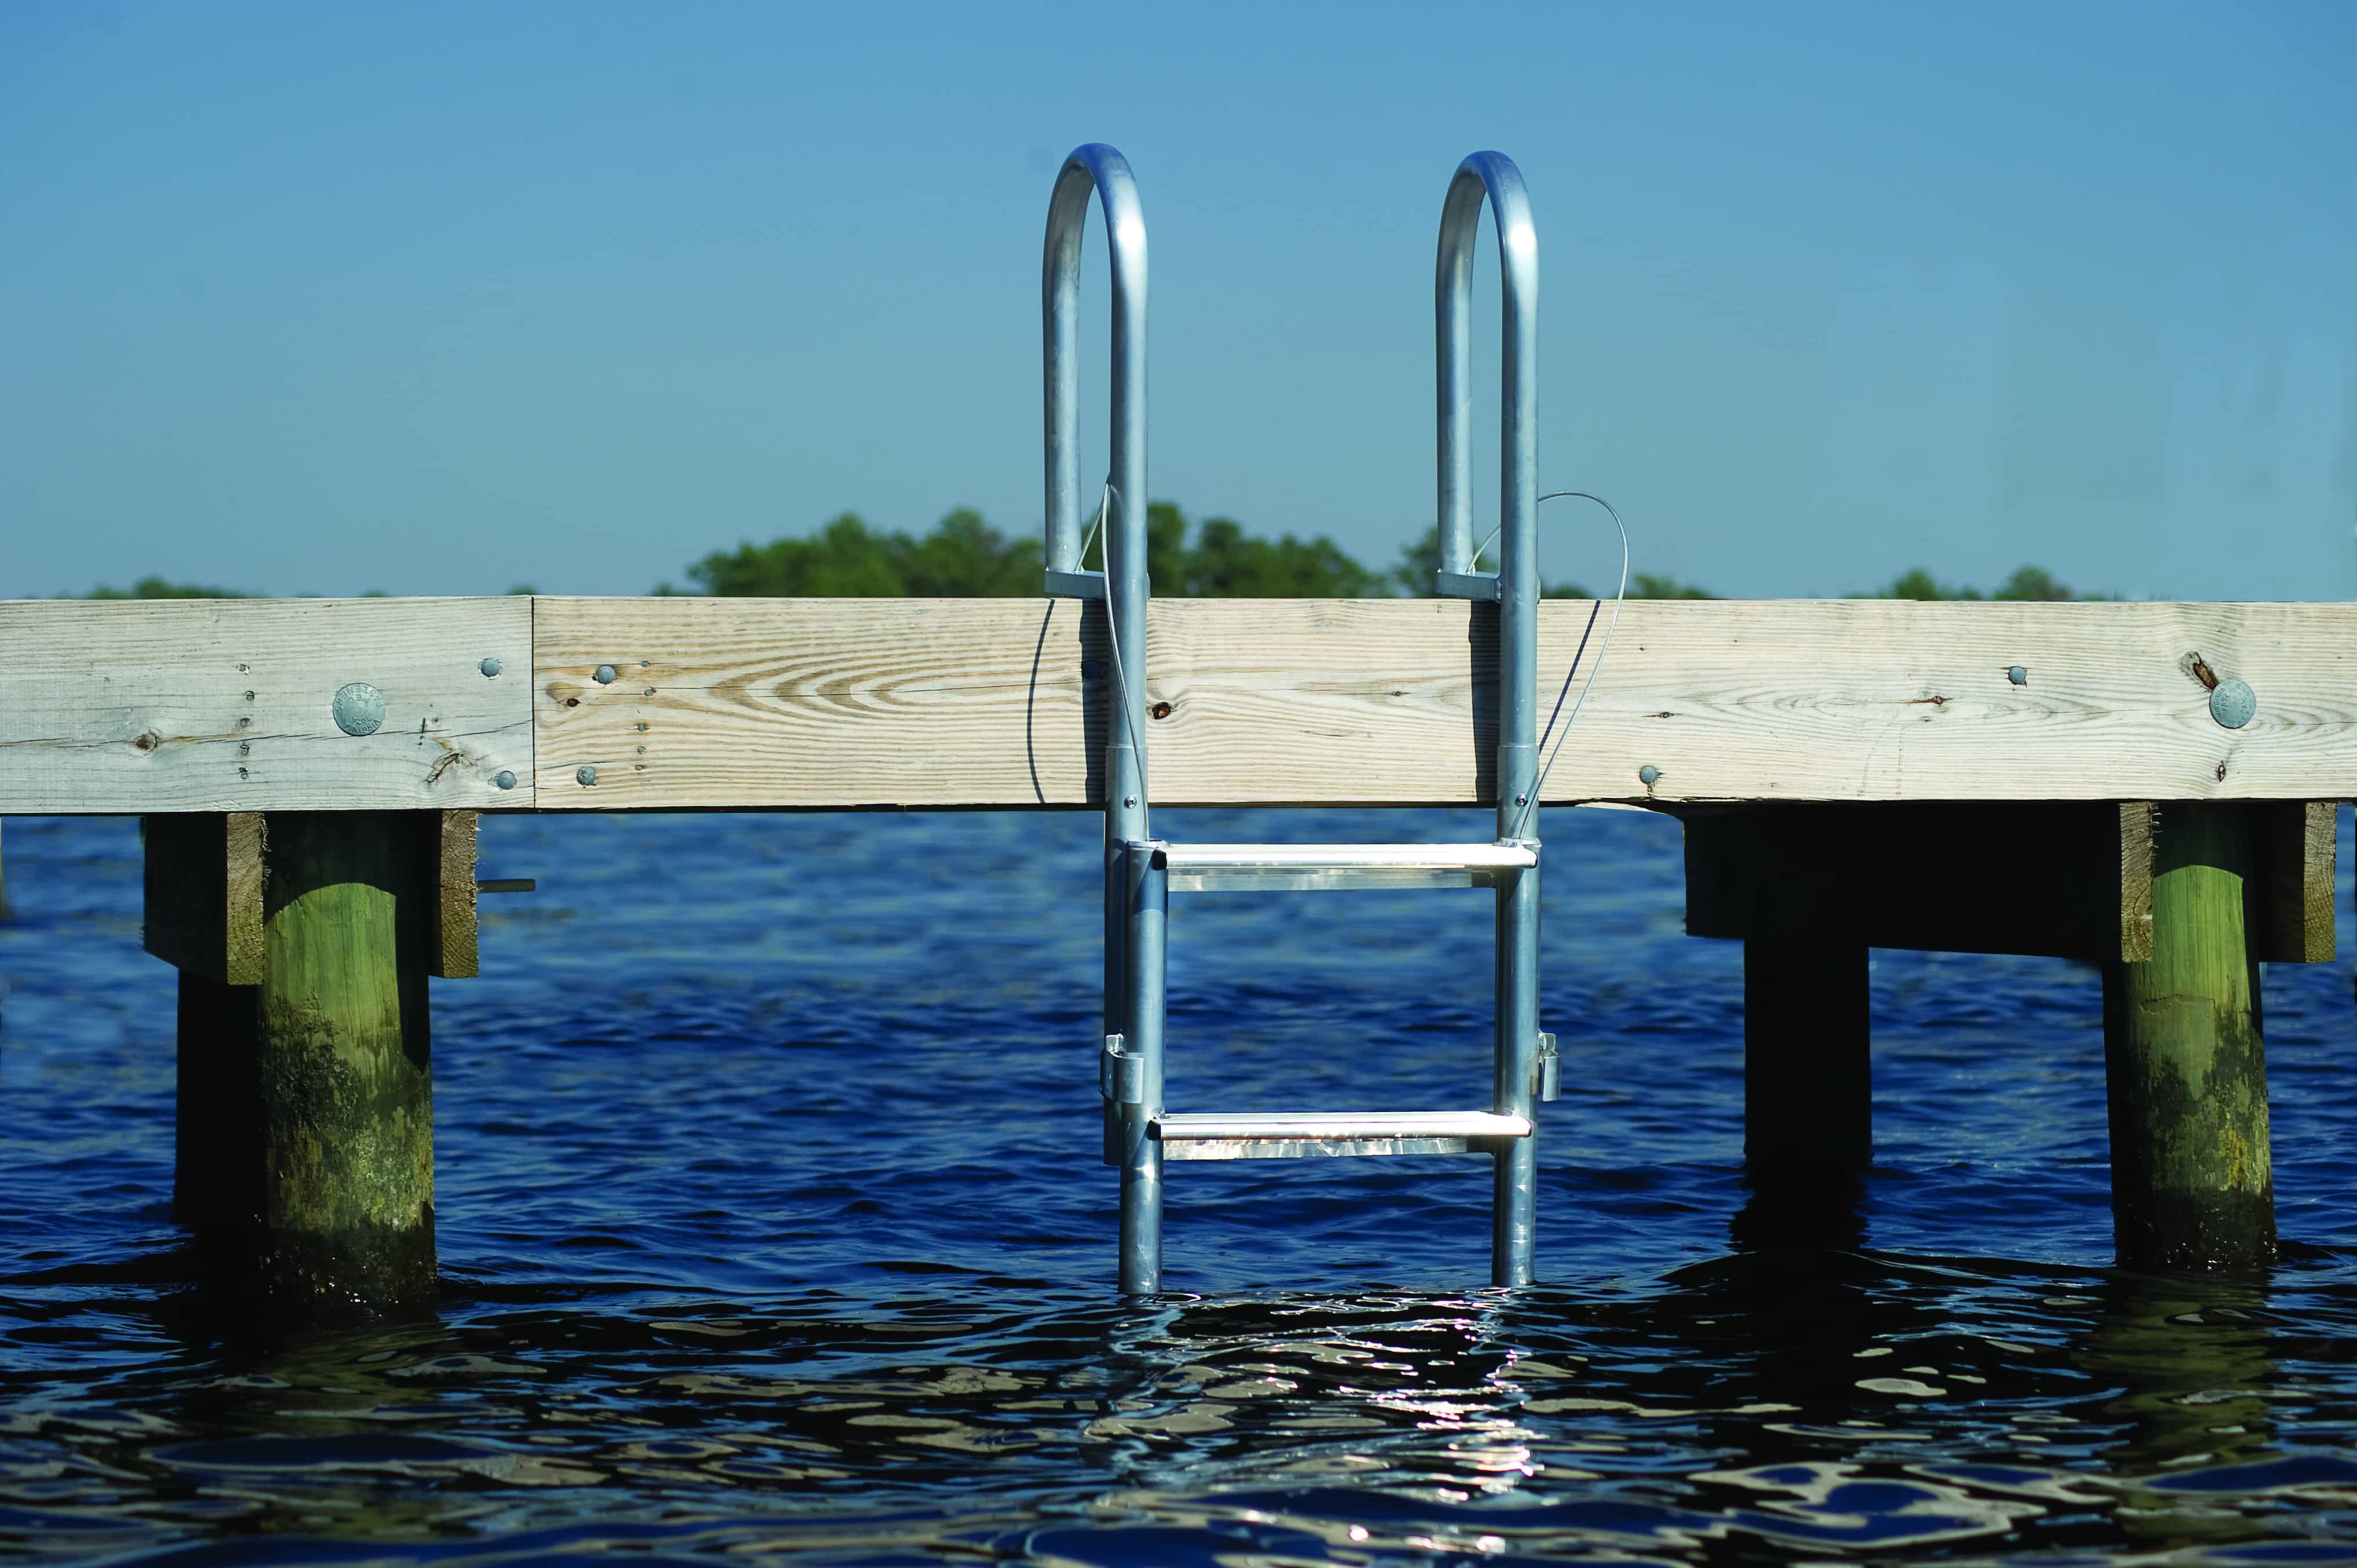
The length of the ladder is important, as choosing the incorrect option would render it useless. The exact length you need will vary by dock height. A good rule of thumb is to have two to three rungs underwater.
Step
You won’t notice the step until you use the ladder, but it can make a big difference in safety and comfort. A narrow step will dig into your foot and can even be painful. A wide step helps with traction and provides more comfort.
Speaking of traction, the type of tread on the step surface is another consideration, as too little tread can lead to slipping, and too much can cause discomfort.
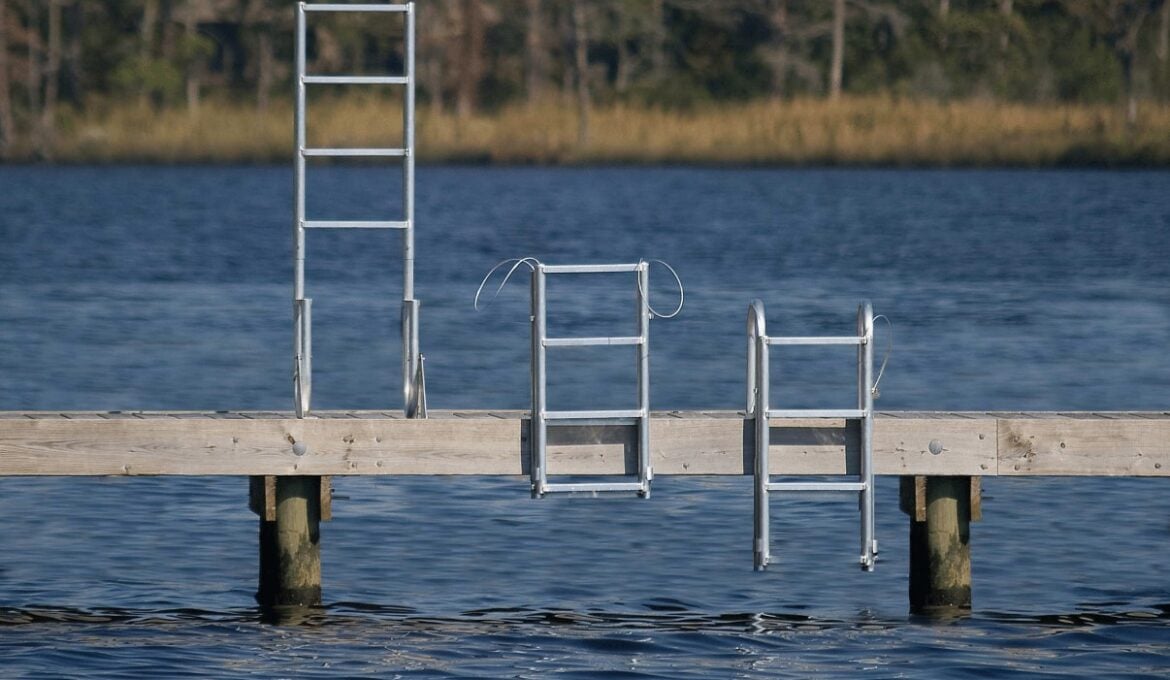
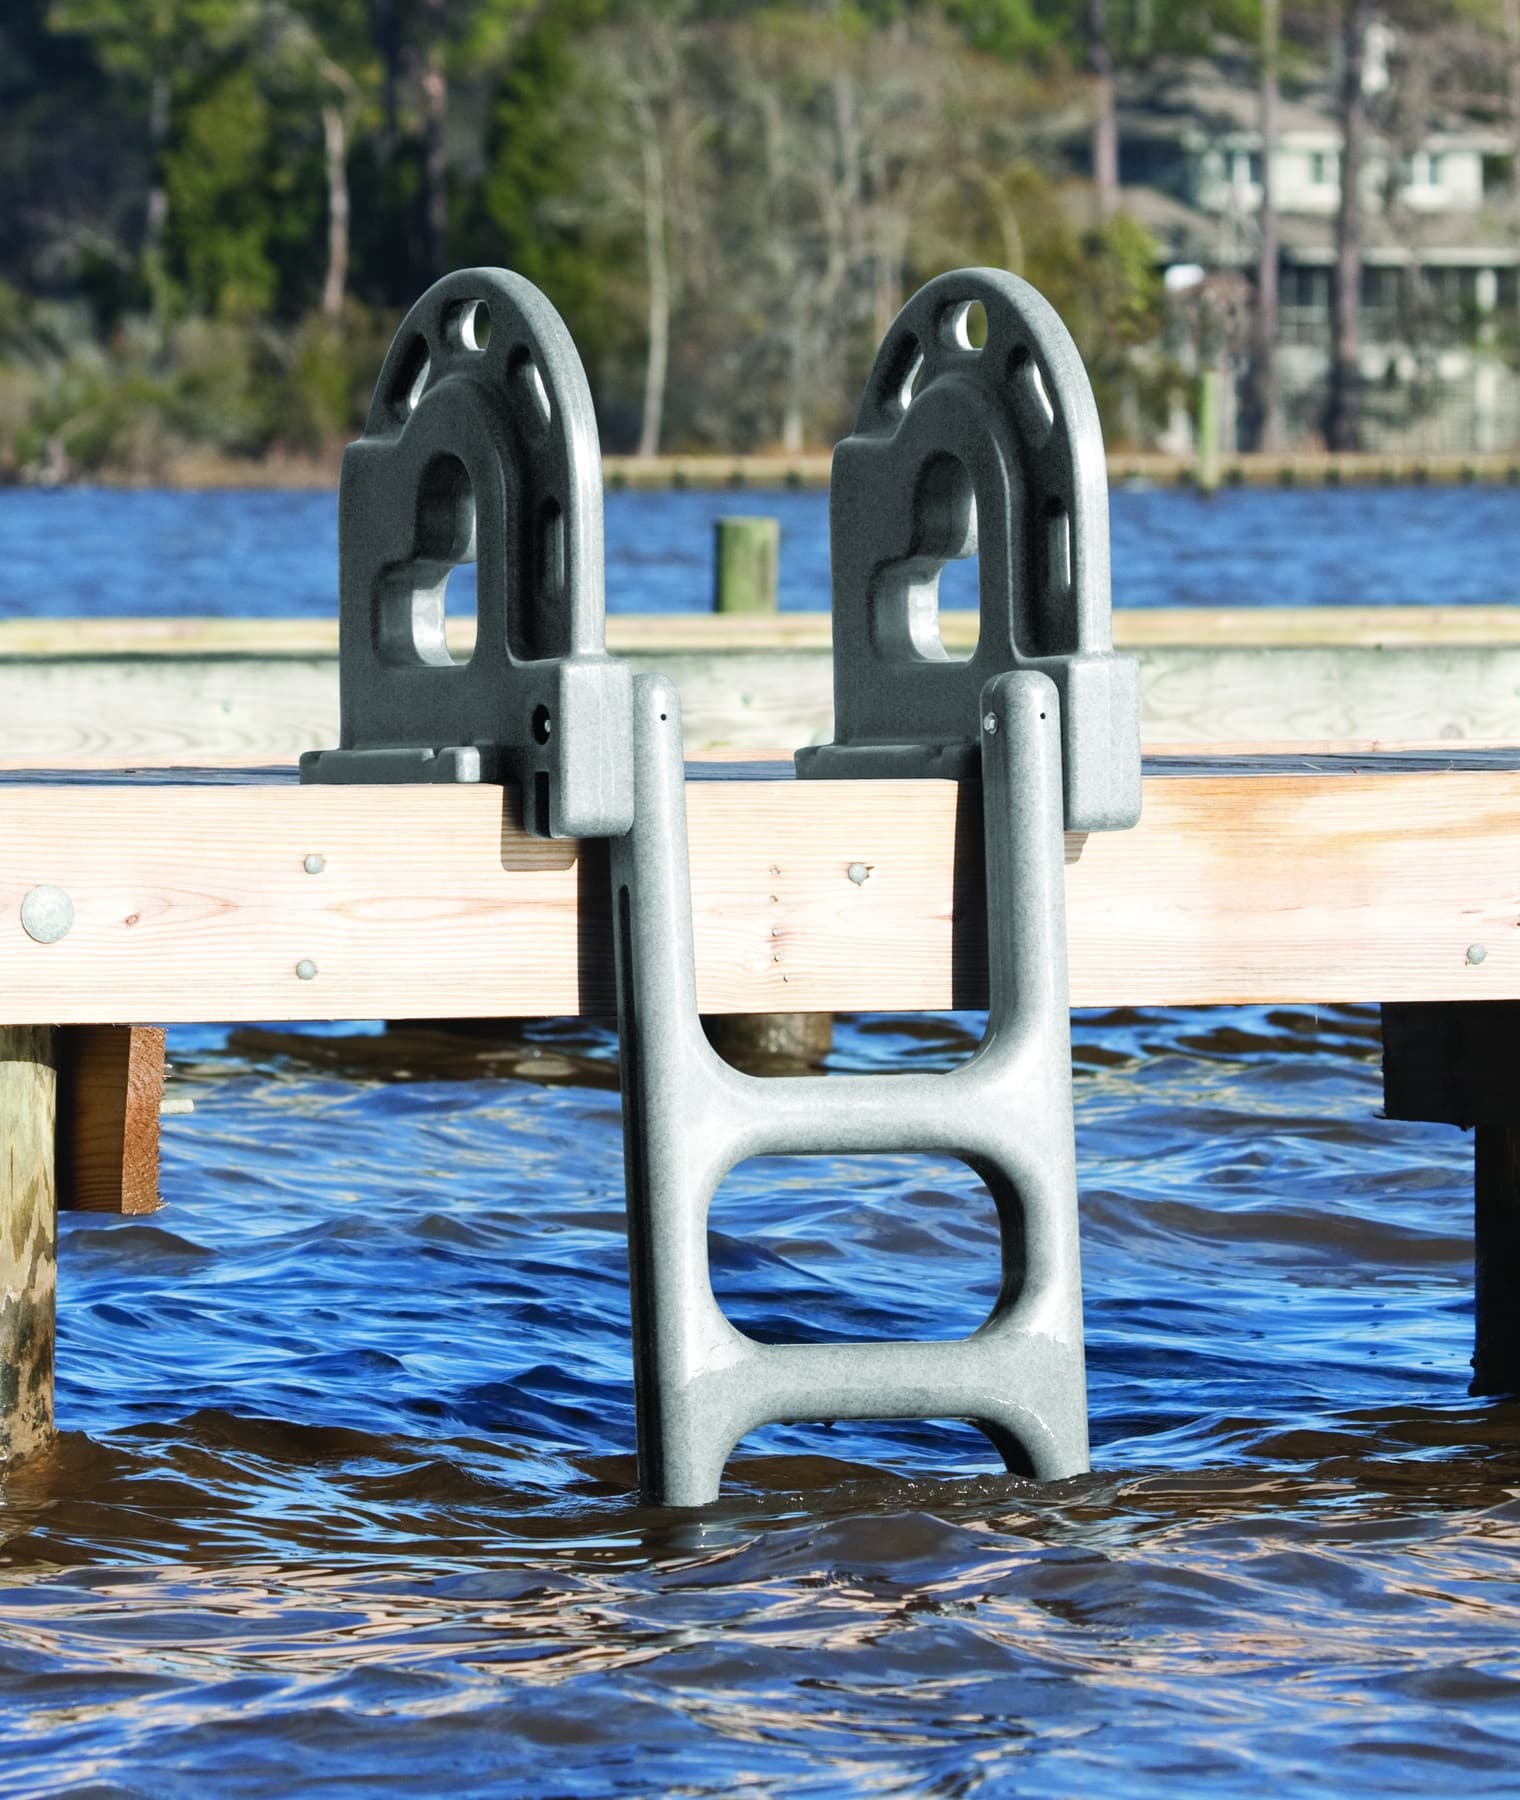
Design
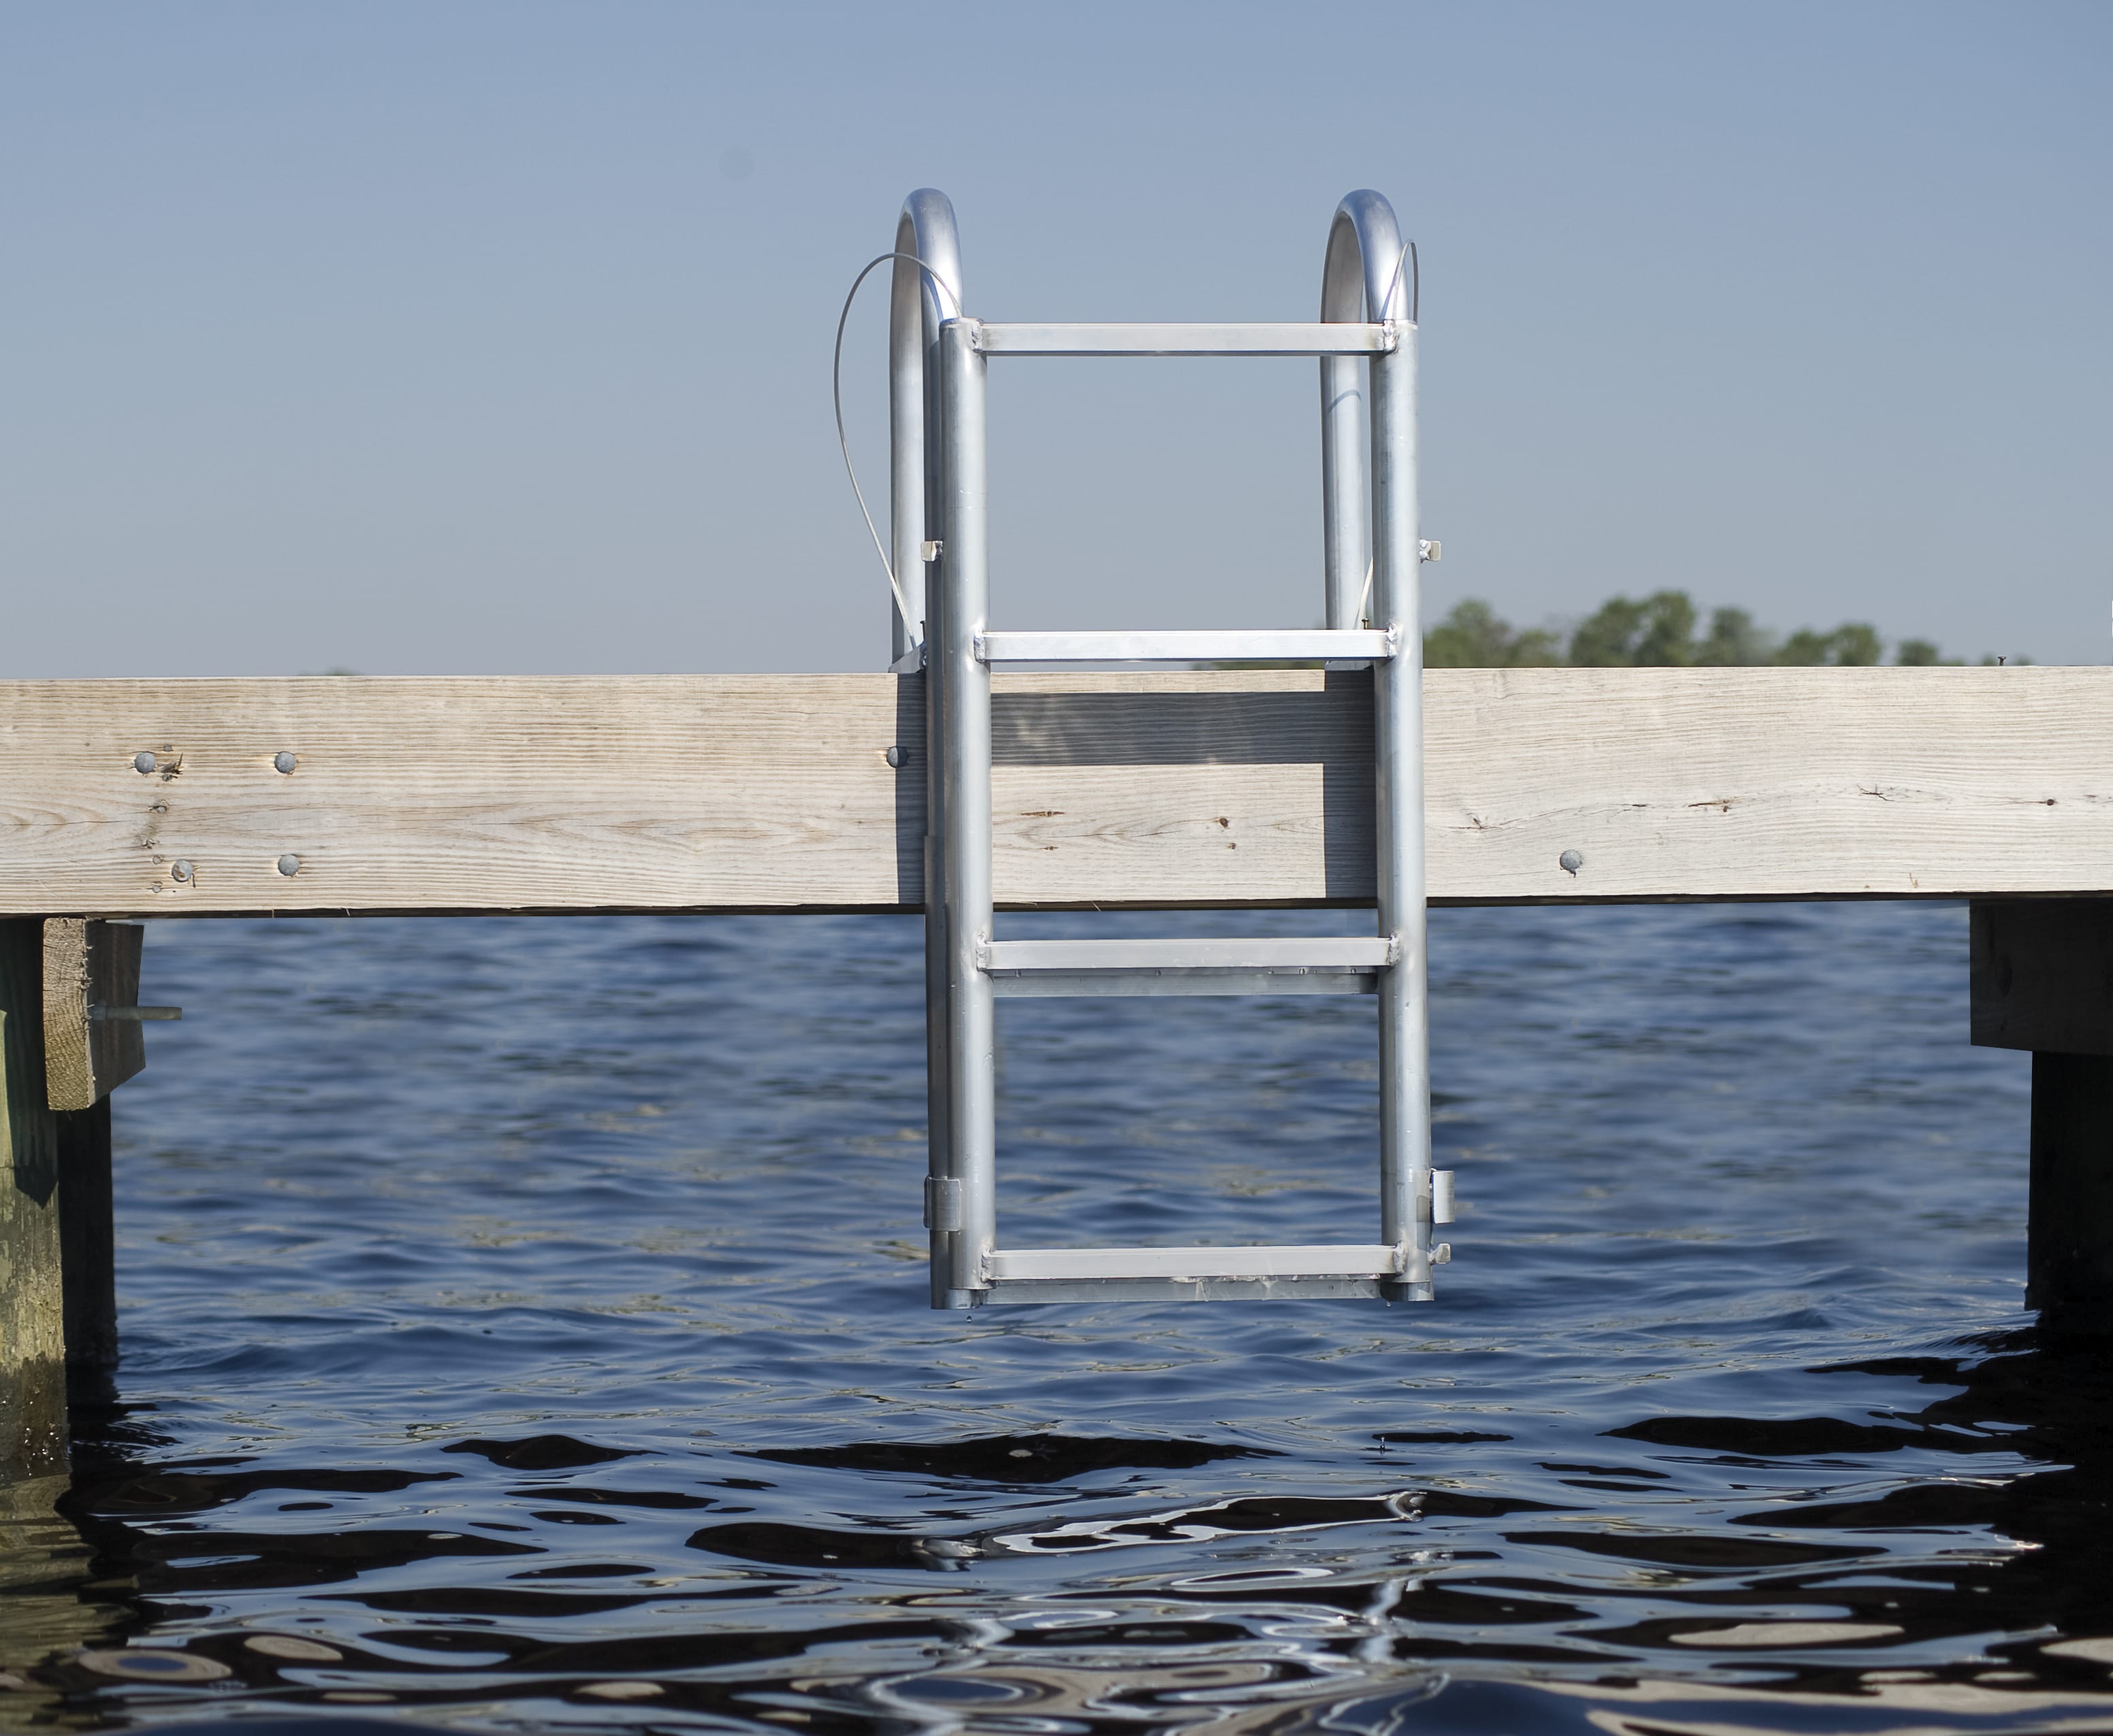
Some examples of different dock ladder designs are stationary/fixed, swinging, retractable, and removable.
A stationary/fixed ladder stays in the water year-round, even when not in use.
A swinging ladder swings up towards the dock, out of the water, while not in use.
A retractable ladder retracts straight up out of the water while not in use.
A removable ladder is easily disconnected from the dock when not in use, typically after the boating season.
It is important to choose a design that suits your dock, your needs, and your climate. For example, if you live on a lake or body of water that ices over, you’ll want to avoid a stationary/fixed dock ladder so it does not get damaged during the off-season.
Dock Ladder Installation Guide

Before you begin installation, you’ll need to gather some tools. Thankfully, you won’t need anything most people don’t have in their at-home tool kit, but let’s review these below just in case.
- Marker
- Tape Measure
- Electric Drill
- Drill Bits
- Sockets/Wrenches
- Hardware*
*Most dock ladders don’t come with hardware, and we don’t recommend reusing existing hardware. Therefore, you must visit your local hardware store to pick out the correct hardware for your dock ladder. We recommend that you refer to the manufacturer’s specifications for hardware selection, but wood docks commonly use lag bolts, and metal docks commonly use nuts and bolts. Regardless of what type of hardware you use, make sure it’s corrosion-resistant, like stainless steel. Be careful when using dissimilar metals as well.
Remove the Old Dock Ladder
You can begin installation once you have picked out a replacement dock ladder and gathered all the necessary tools. The first step is to remove your old ladder (if present). Depending on how your ladder is attached, this should be fairly easy, but most will have exposed fasteners attaching the brackets to the dock and the brackets to the ladder.
Use your sockets and wrenches to remove the old hardware so the dock ladder can be removed. It may be easier to remove it in pieces or leave the ladder attached to the brackets and remove it all together.
Check Mounting Surface
Before you begin installing the new ladder, you’ll need to examine the installation location closely. If you didn’t like the location of your old ladder, now is a good time to change this.
Regardless of the location, ensure that the surface where you’ll attach the new ladder is in good condition. If you have a wood dock, be sure there is no rot. If you have a metal dock, be sure there is no corrosion or rust buildup. If there are any issues, you’ll need to repair them before moving to the next step, or you can simply find a new location on the dock that is more structurally sound.
Installing Your New Dock Ladder
It’s important to thoroughly read the installation manual for your exact dock ladder before beginning. This will take precedence over the tips or steps laid out below. As these are general tips, they do not apply to all dock ladder installations and could vary from dock to dock or from ladder to ladder.
Step 1: Set the ladder on the dock in the desired location. Using a tape measure, ensure the ladder is square to the deck.
Step 2: Using a marker, trace each of the holes securing the deck bracket to the deck. Remove the ladder and bracket.
Step 3: Drill the marked holes at each location using an appropriately sized drill bit. If using lag bolts, you can skip this step or make a small pilot hole.
Step 4: Place the ladder and bracket into position, verifying all holes line up.
Step 5: Attach hardware to the ladder and dock; if a backer plate is used, be sure the hardware is secured through this as well.
Step 6: Using the appropriate tools for your hardware, secure the ladder to the dock and backer plate if equipped.
Step 7: Test that the ladder is secure by standing on the first rung and working your way up and down to ensure it’s firmly secured and there is no excess movement.
Choosing the right ladder for your dock is very important. Getting it installed correctly is just as important, if not more. Hopefully, you found this guide helpful. Let us know in the comments below if you’ve tackled this job and how it went.
Be sure to check out some of these other marine articles as well: