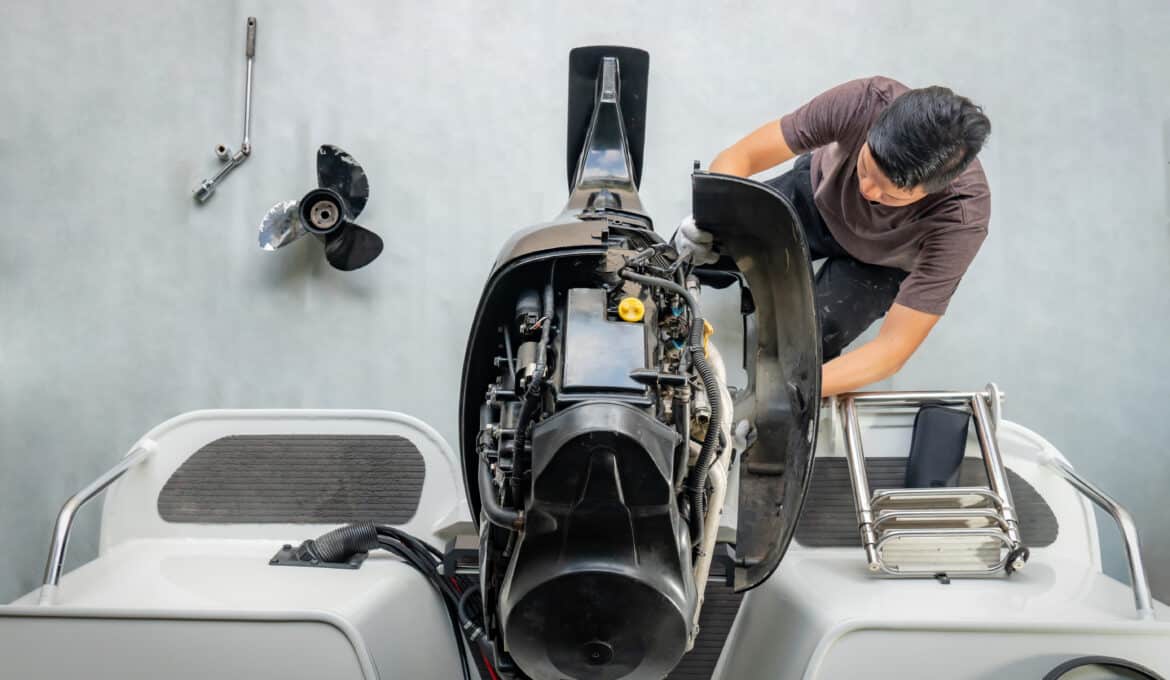
We’ve all heard the B.O.A.T. acronym, “break out another thousand”, but this does not have to be true. Yes, boats can be expensive, but they are much less expensive and troublesome with proper outboard engine maintenance. You could drop off your boat at the shop once a year to have this done for you, but you should know how to do this yourself, saving you money in the process. Let’s review some important maintenance tips to keep you up and running for future seasons.
2-Stroke vs. 4-Stroke
Before we begin, it’s important to identify which type of outboard engine you have as this is going to dictate the required maintenance procedures. A 2-stroke engine is fueled by a mixture of gas and oil, whereas a 4-stroke engine is simply fueled by gas. A 2-stroke engine requires much less maintenance than a 4-stroke as the oil is replaced each time it’s fueled.
Outboard Engine Maintenance Intervals and Stages

You may be wondering how often you should perform maintenance on your outboard engine. The exact maintenance intervals vary by manufacturer and type. Most general maintenance is performed yearly or after a certain number of engine hours depending on use.
There are also different stages of maintenance. For example, annual maintenance usually entails simple tasks like changing oil and spark plugs, etc. In contrast, bi-annual maintenance could require more challenging procedures such as replacing engine gaskets and seals. We’ll be covering the basic annual maintenance below as it’s less engine-specific, but don’t be afraid to tackle the more complex procedures yourself as well. In any case, you should always refer to your owner’s manual for the proper maintenance practices.
Required Tools
To perform needed maintenance repairs on your engine, you’ll need to gather some tools. You may not need everything in the list below, but it’s a good place to start.
- Marine Screwdriver
- Lower Unit Gear Oil Pump (Specific to Lower Unit)
- Drain Pan
- Funnel
- Socket Set
- Grease Gun
- Pliers
- Oil Filter Wrench
- Prop Wrench (Optional)
- Torque Wrench (Optional)
- Prop Wedge (Optional)
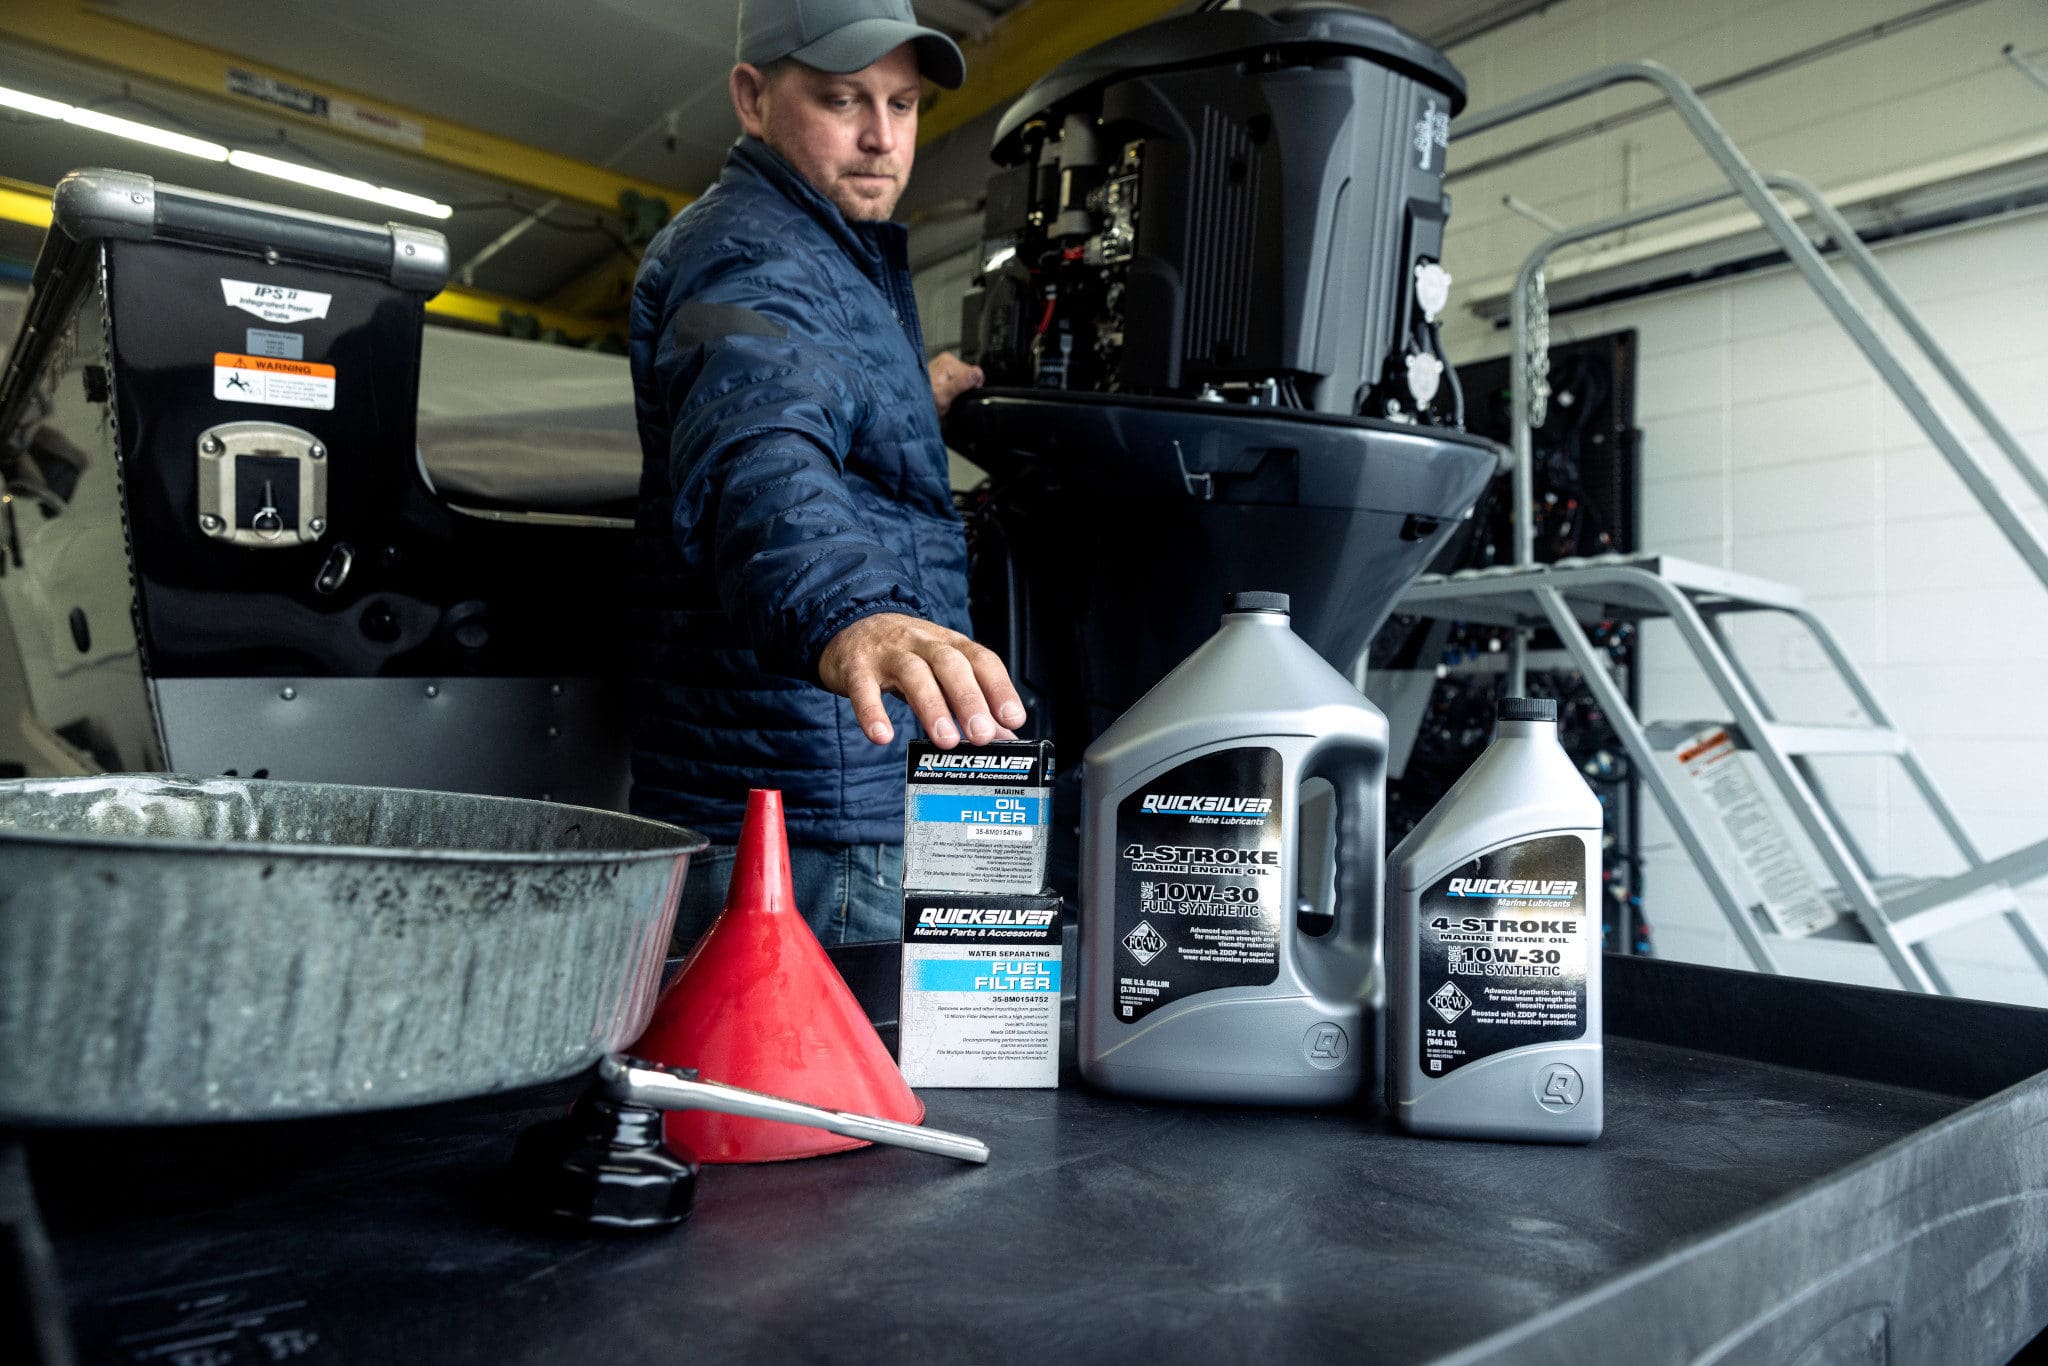
Required Parts
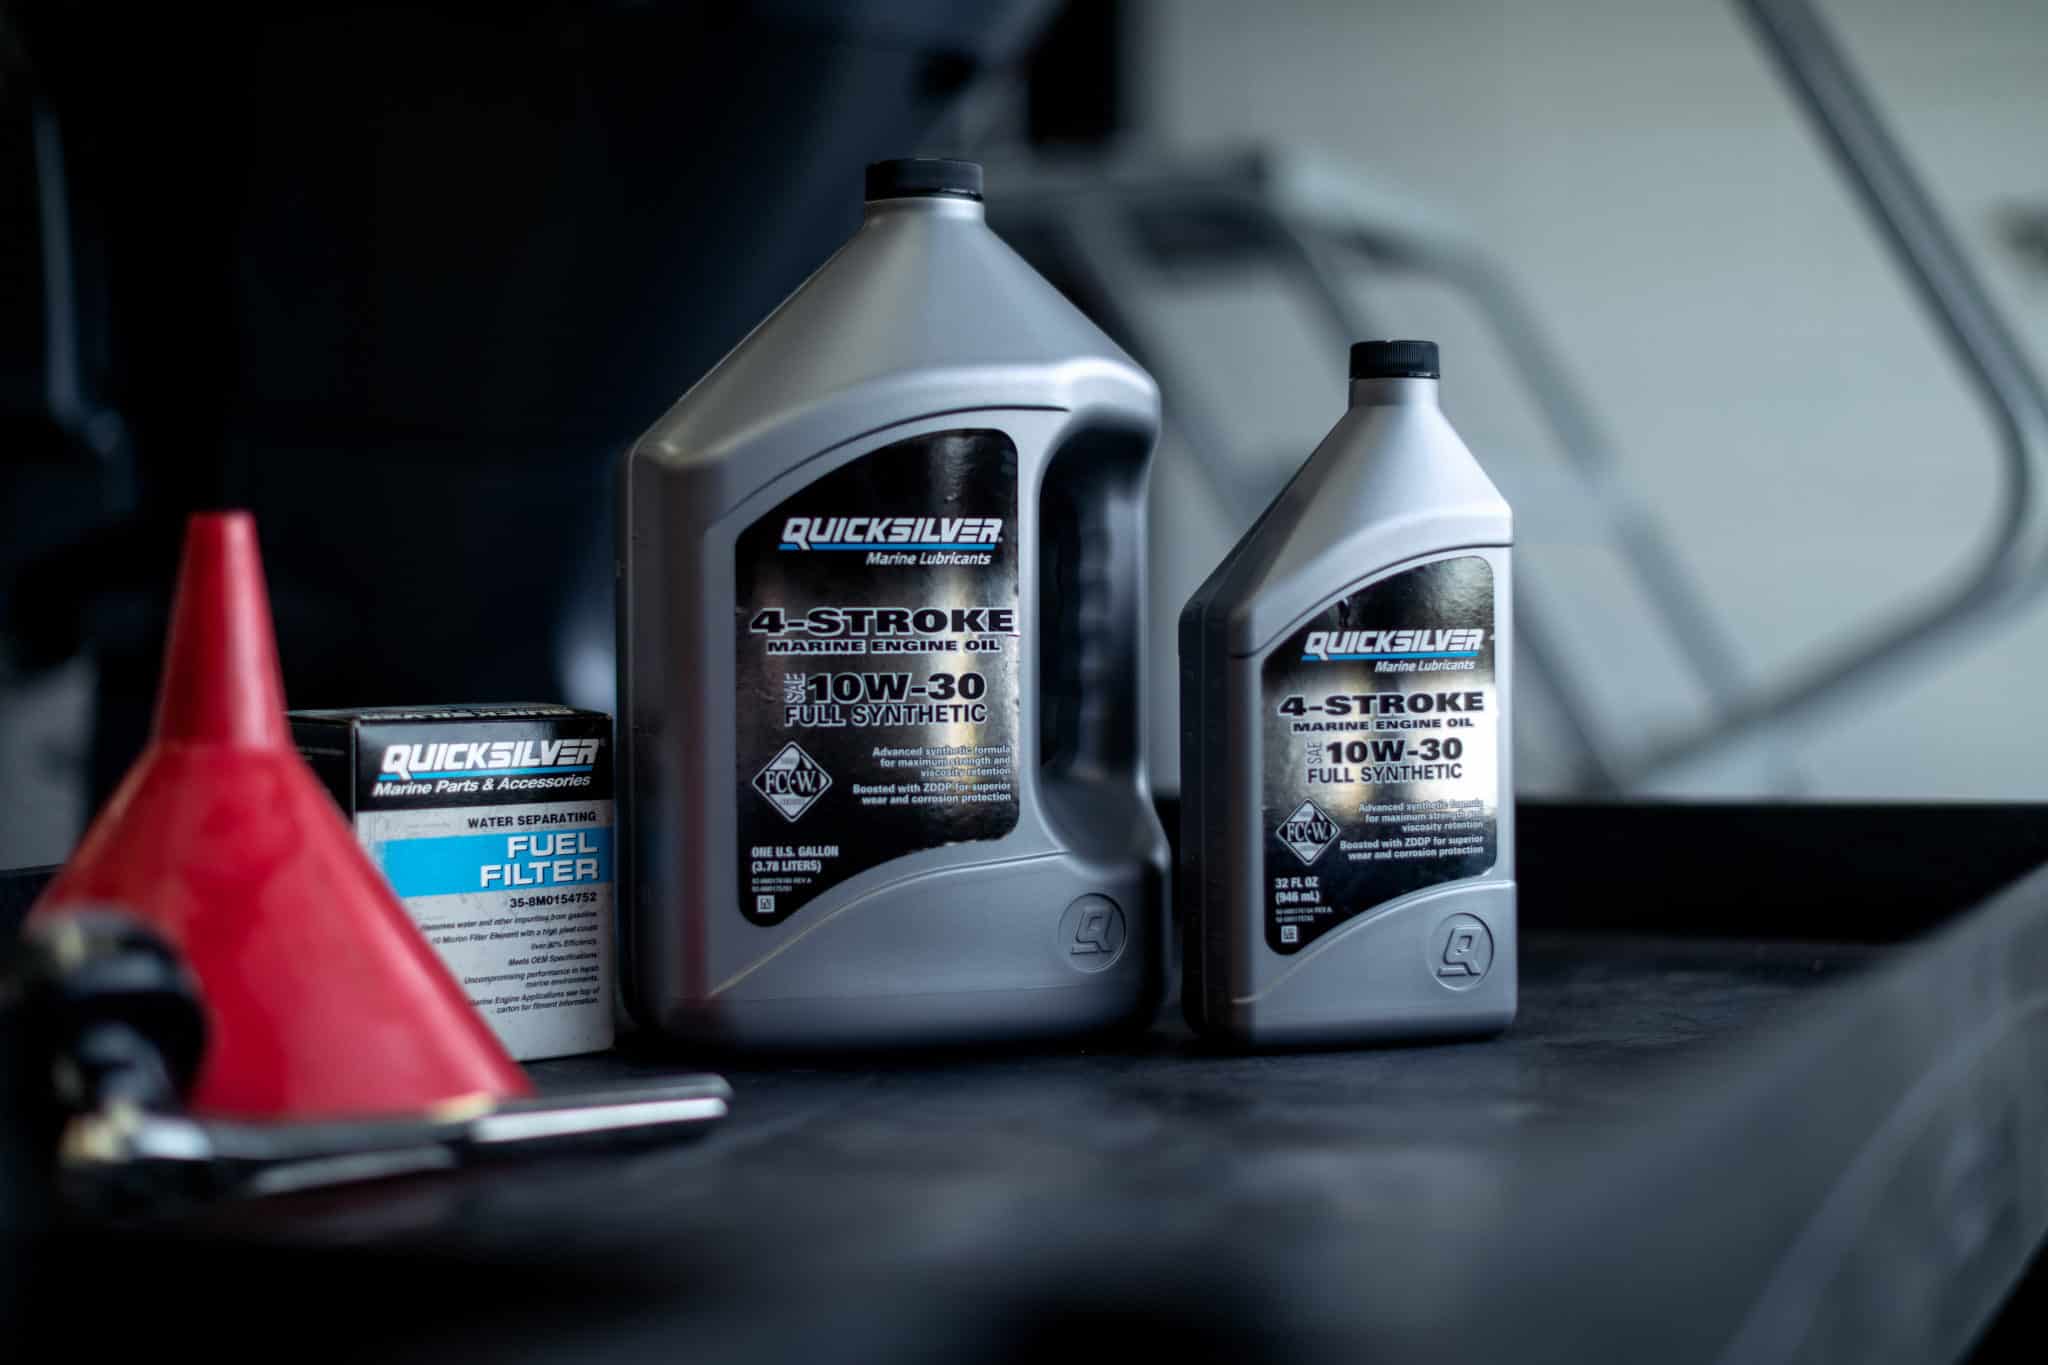
In addition to tools, you’ll need parts specific to your engine such as oil, oil filter, gear oil, etc. For specific capacities and weights, refer to your owner’s manual. Below are some basic parts for annual maintenance.
- Engine Oil
- Engine Oil Filter
- Lower Gear Oil
- Marine Grease
- Spark Plugs
- Fuel Filter
- Dielectric Grease (Optional)
- Service Kit (Engine Specific)
Getting Started
Now that we’ve gone over everything you need to complete the project, let’s get started. Keep in mind that these steps can vary slightly from engine to engine, but most are very similar.
Lower Unit Oil
Your first step in engine maintenance is to drain and replace your lower unit oil. To start, position a drain pan below the prop and tilt the engine down until perpendicular to the ground. Locate the drain plug – most are on the side of the lower unit, some require removing the prop. Once located, use your marine screwdriver to remove the drain plug. Oil should start to seep out slowly.
Next, locate the vent plug that should look like the drain plug, but is located higher up on the side of the case. Remove the vent plug using your marine screwdriver. The oil should then begin to drain faster. Let the lower unit drain for around 10 minutes. Check the expelled oil to make sure there are no metal flakes or a milky color. If you experience either of these symptoms, take your engine to a professional to have it checked.
Once the oil has drained, check that the drain plug gasket is not left behind on the case. Although you can reuse these if in good condition, replacing the gasket is recommended. Attach the gear oil pump to the drain plug port and begin to insert oil until it starts to seep out of the vent. Once done, remove the pump and reinstall the drain plug with a new gasket. Lastly, replace the vent plug using a new gasket and clean up any leftover oil.
Engine Oil (4-Stroke Only)
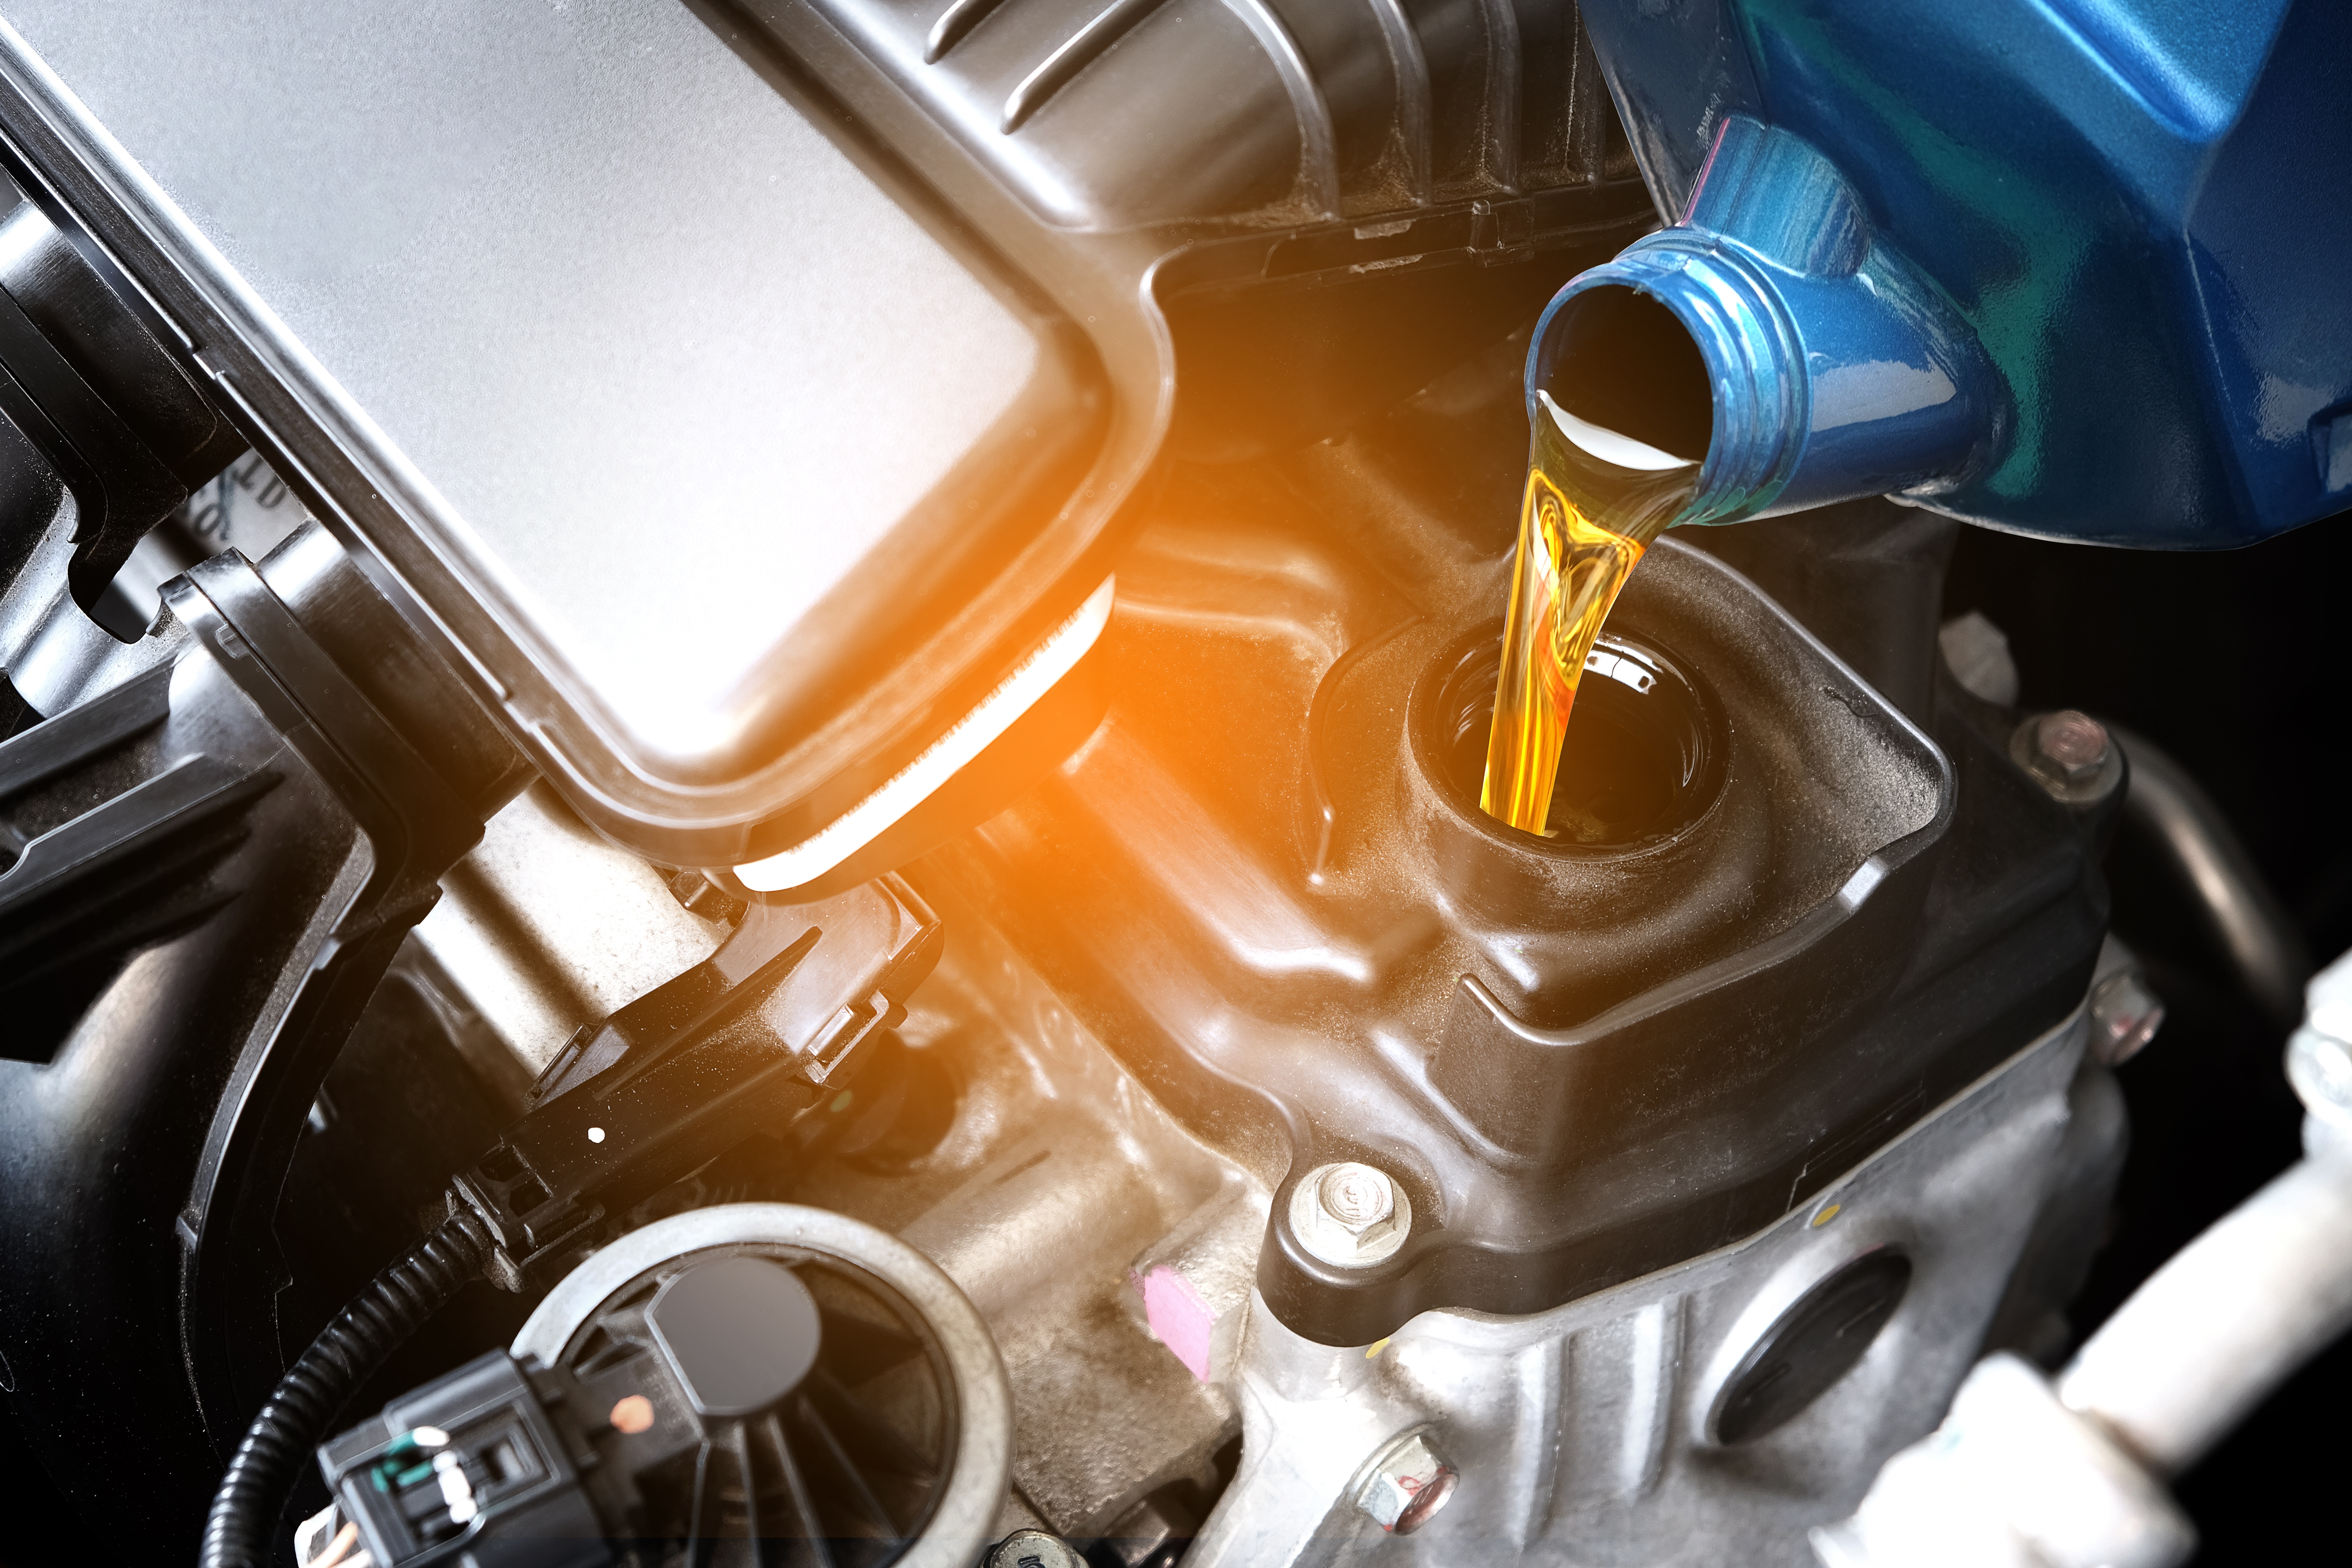
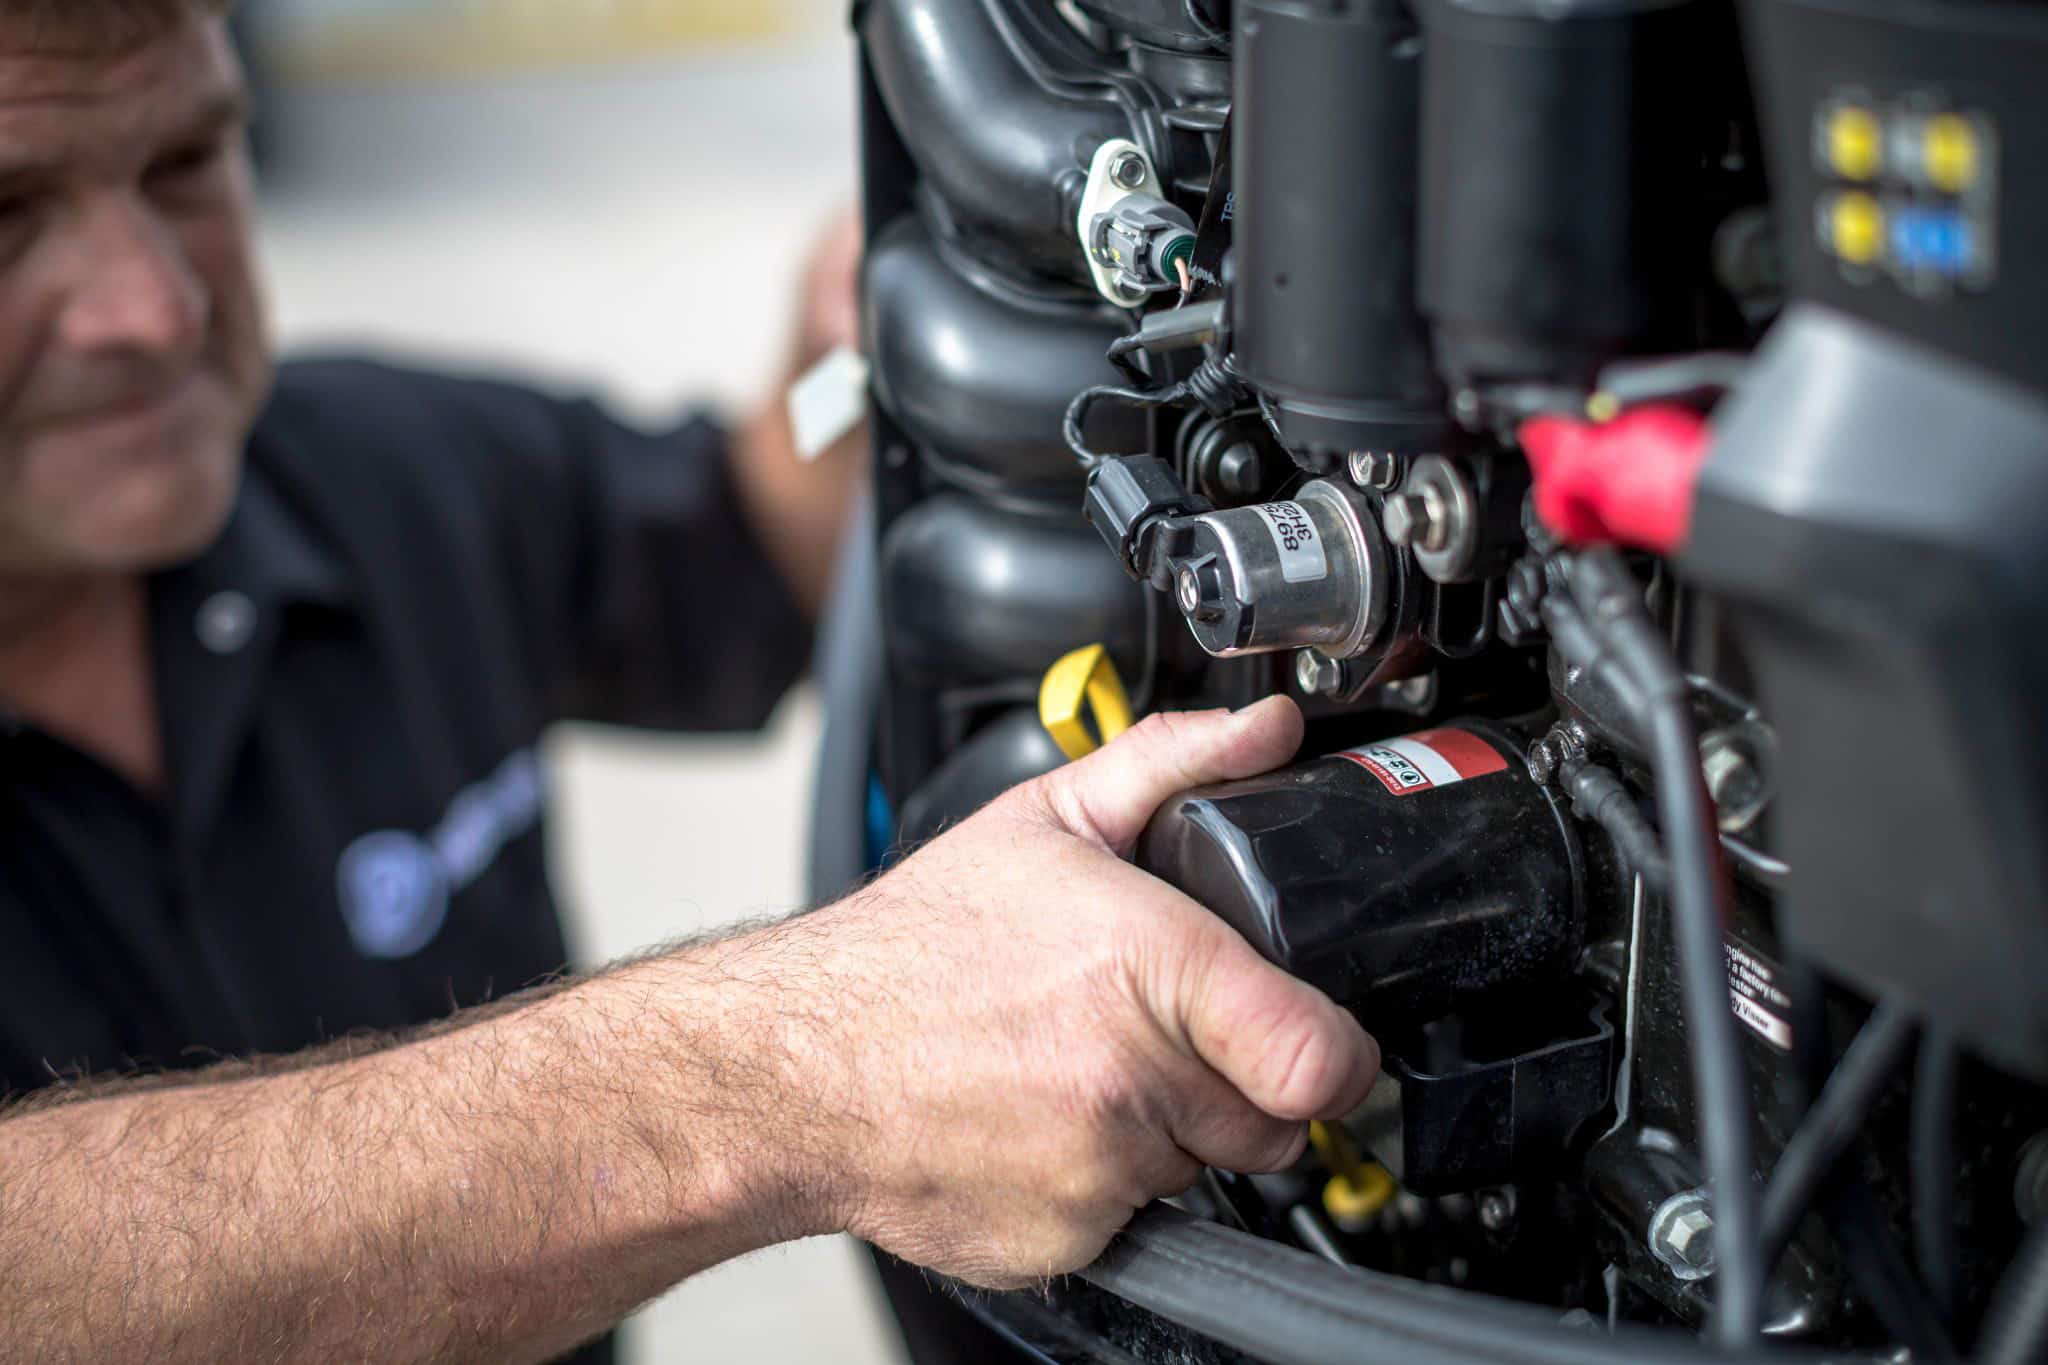
Once you have replaced your lower unit oil, move on to your engine oil. Start by removing the top cover and locating the drain plug. Position the drain pan under the plug, then use your socket and wrench to remove the plug. Unscrew the oil fill cap to help drain the oil. If you’re unsure of where the drain plug is located, refer to your owner’s manual.
Next, locate and remove your oil filter. You may need to remove the oil filter with an oil filter wrench if it cannot be done by hand. Once the filter is removed, let the system drain for around 5-10 minutes. After the oil is drained, reinstall the drain plug with a new seal and torque to the value specified in the manual. If you don’t have a torque wrench, hand-tighten the plug and then tighten a quarter turn using a socket and ratchet. Install the new oil filter, being sure to pre-fill and place a thin coat of oil on the rubber seal. Date the filter for future maintenance.
Finally, place a funnel into the oil filler neck and begin pouring oil slowly into the engine. You’ll need to reference your owner’s manual for the exact capacity. Once filled, reinstall the cap and start the engine. Let it run for a few minutes then shut it off and check the dipstick. The oil should be between the two lines on the dipstick. If not, add more oil as needed.
Fuel Filter
Locate the fuel filter inside the case on the engine. Use your pliers to loosen and slide back the hose clamps on either side. You should then be able to pull the barbs on the filter from the hoses. You can then install the new filter, making sure to note the direction of the arrow. Once secure, replace the hoses and slide the hose clamps back over the barbs using your pliers.
Spark Plugs
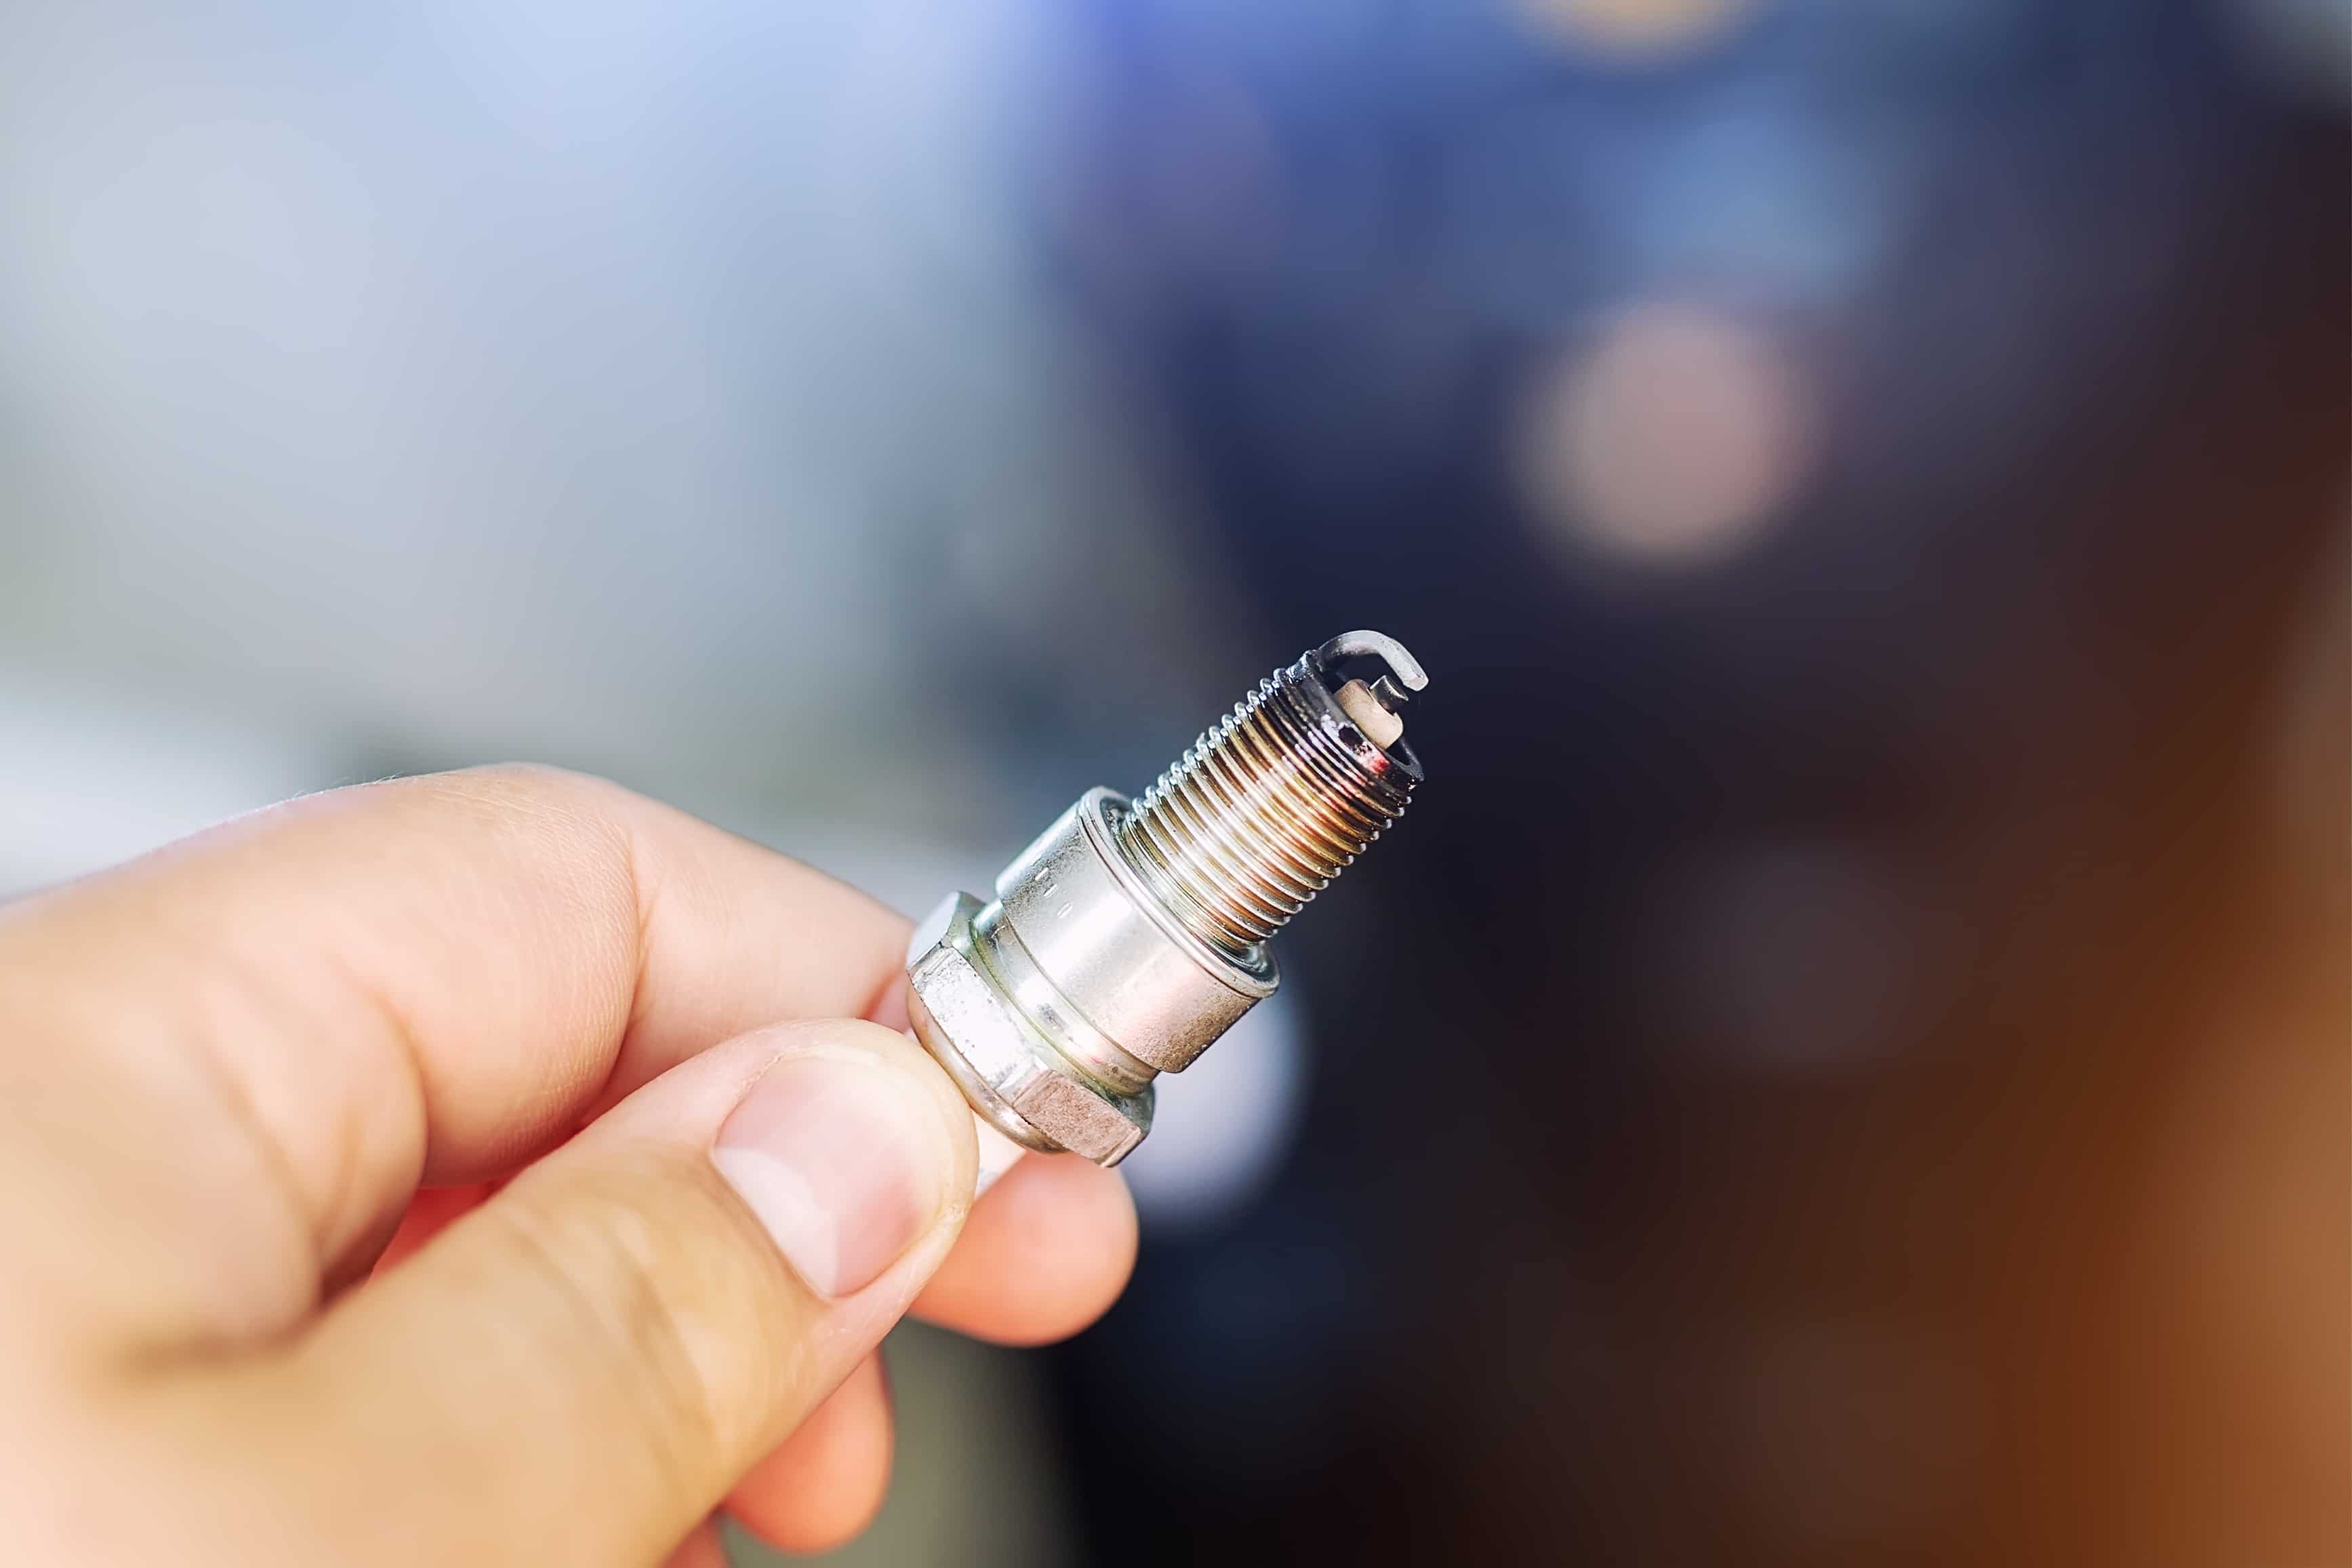
Your engine may have one or multiple spark plugs. You’ll need to ensure the new plugs are gapped correctly before installation. Start by locating the plug on the engine and removing the connector. The connector has a boot that attaches to the plug followed by a wire that leads to the coil. Pull the connector by the boot, not the wire, as this could cause damage.
Once the connector is removed, place your spark plug socket over the plug and loosen until removed. Take the new plug and apply dielectric grease on the terminal. Thread the plug into the block by hand, then torque to the manufacturer’s specifications. If you do not have a torque wrench, you can tighten the plug by hand and then tighten another quarter turn with a socket and ratchet. Reinstall the connector until the boot is seated properly on the terminal.
Prop Shaft
Remove the prop by placing your prop wedge between the propeller and the anti-ventilation plate. If you don’t have a prop wedge you can use a wood block. Use a socket and ratchet to remove the nut on the prop shaft. If you cannot remove the nut with a ratchet, switch to a breaker bar or prop wrench for more leverage.
Once the nut is removed, slide the prop from the shaft. Inspect the prop and prop shaft for damage. Pay close attention to the prop shaft to ensure there is no tangled fishing line. Check the prop shaft seal to ensure it’s in good condition. Clean and lubricate the shaft with grease, then reinstall the prop and nut.
Grease
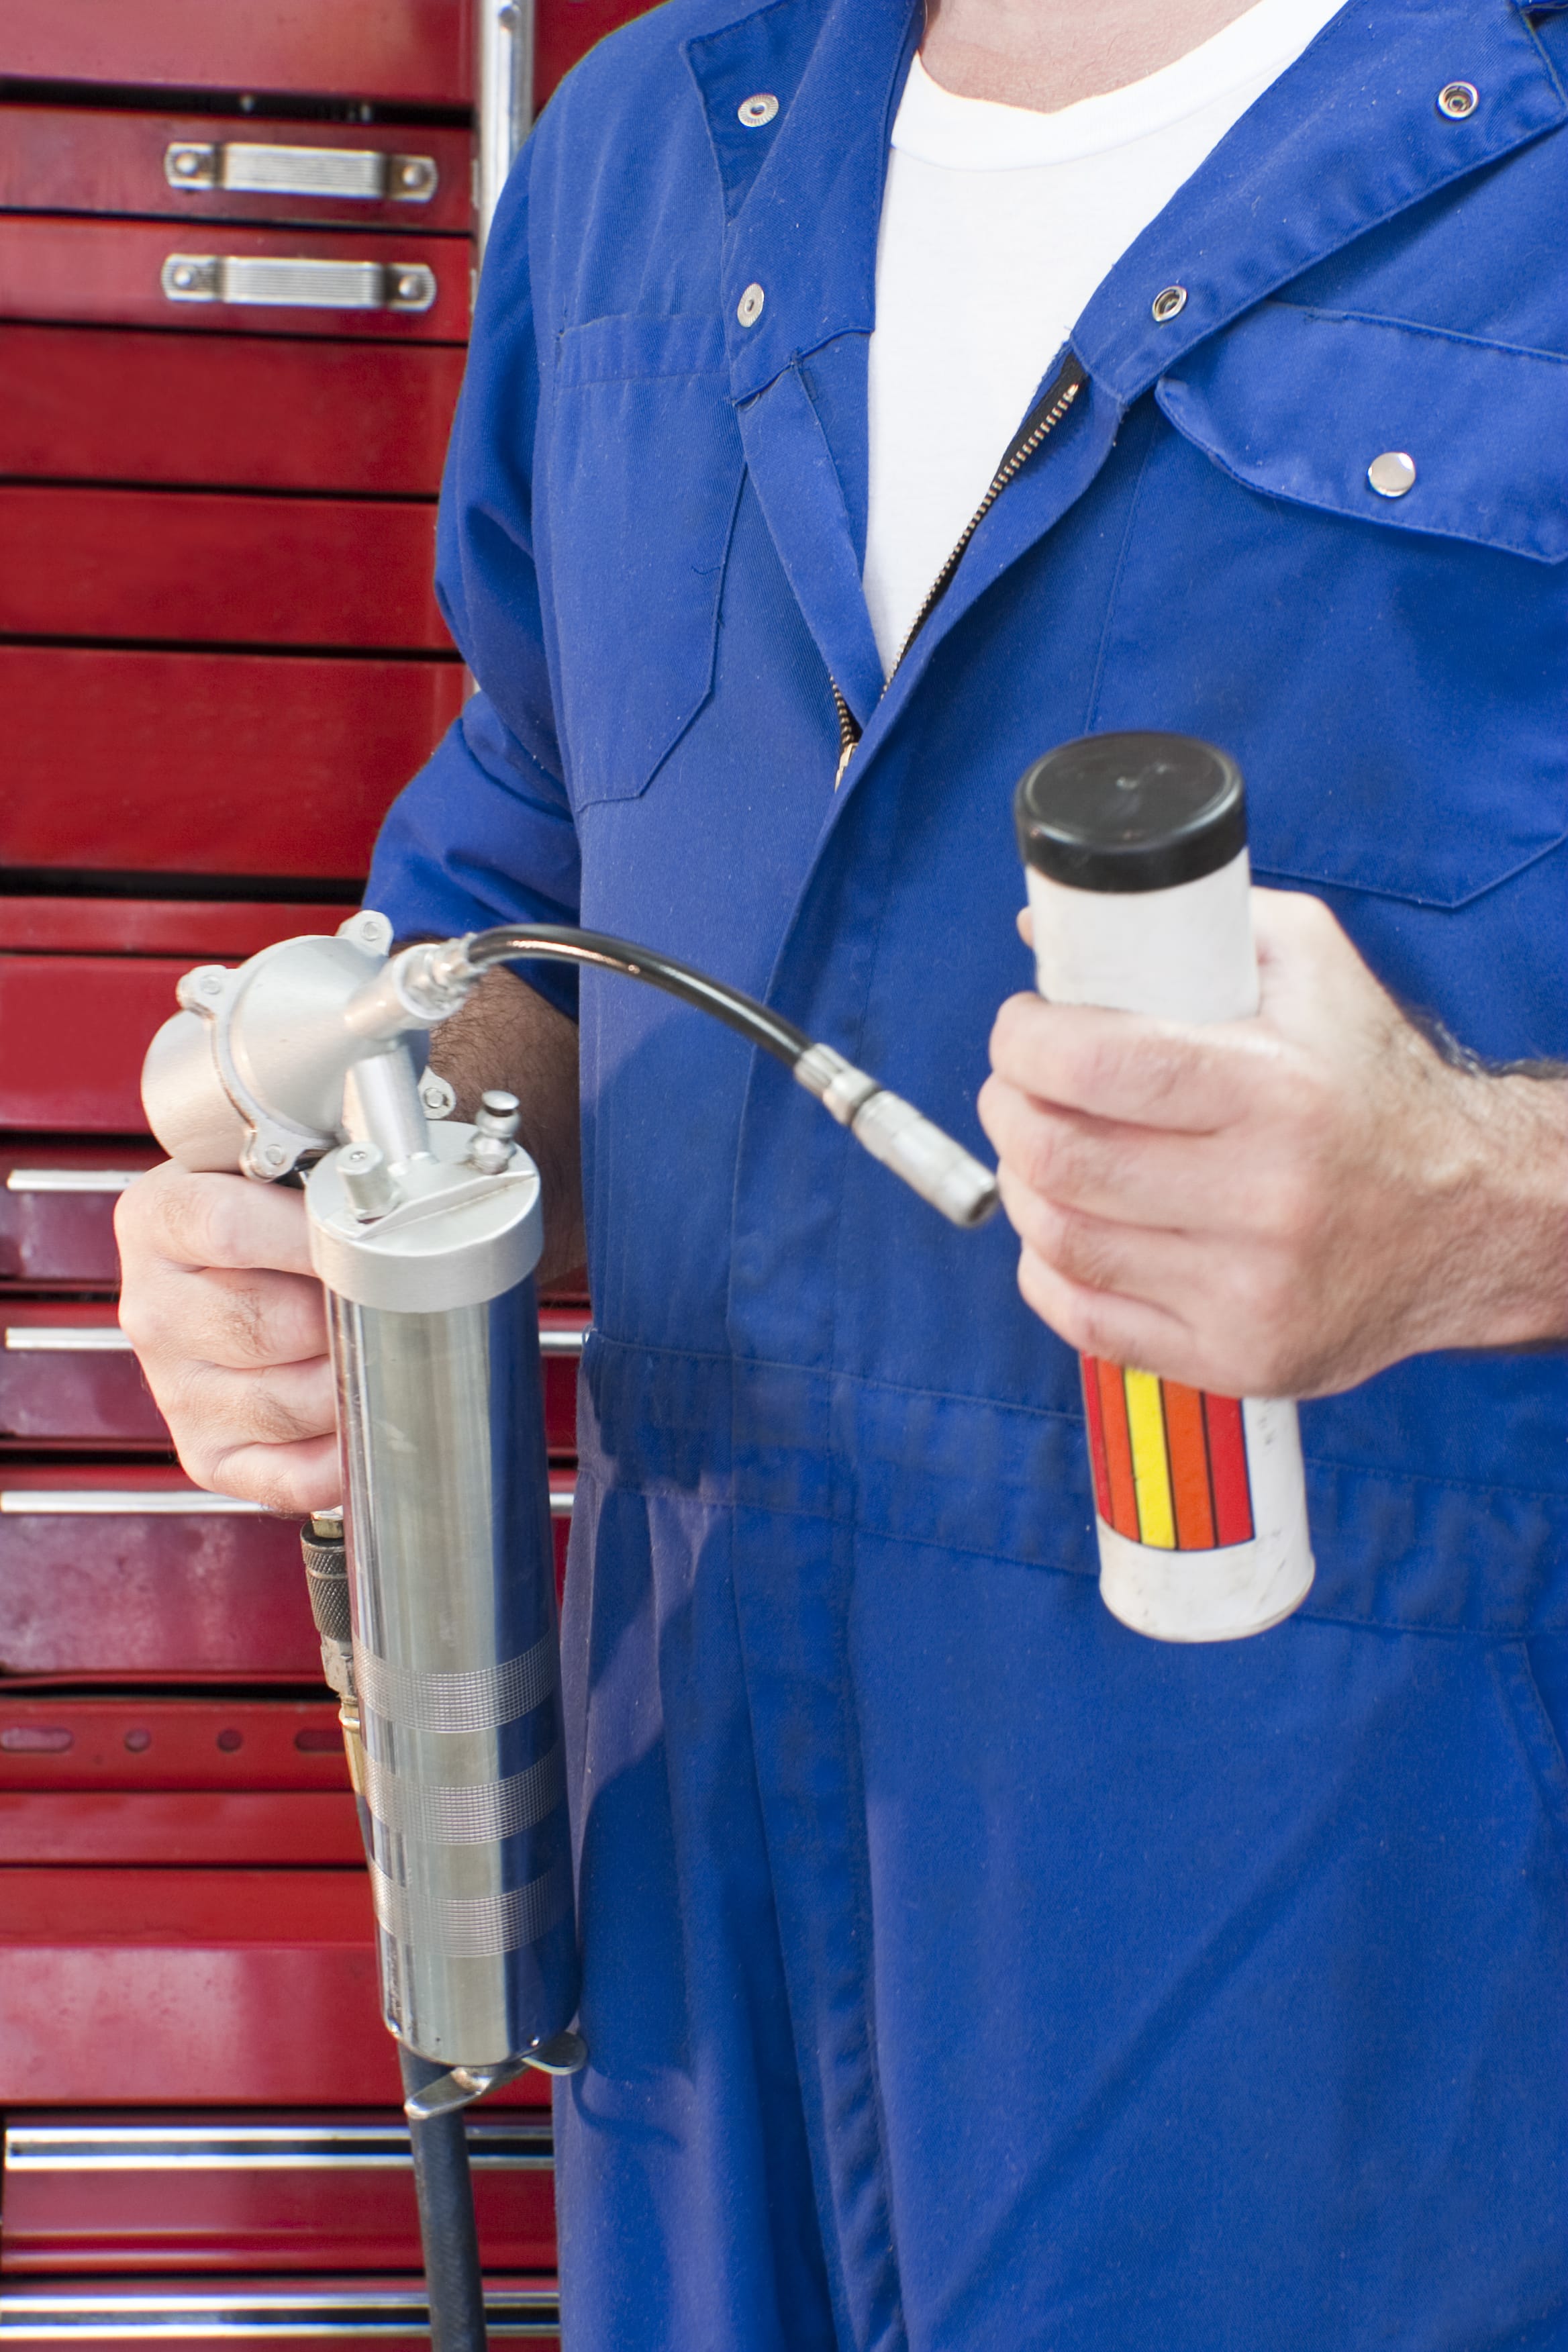
Most outboard engines have grease fittings on components, such as the swivel bracket and tilt mechanism. Place your grease gun on each of these fittings and apply a few pumps of grease until it starts to come out the top. Once finished, wipe away any excess grease with a rag. Be sure to use marine grease that is designed for boats.
Service Kit
For some engines, the manufacturer offers a service kit that contains common wear parts such as gaskets, washers, and seals. If a service kit is available for your engine, install it using instructions provided by the manufacturer.
Check out our other boat and trailer maintenance articles!
- The Complete Maintenance Guide for Your Boat Trailer
- Keeping Your Boat Protected During the Off-Season
- How to Properly Maintain Your Pontoon Boat for Winter
- Spring into Boat Season: Get Your Boat Ready for Spring with This Checklist
- Maintenance for Neglected Boats
If there’s anything you feel we missed, make sure to let us know in the comments below.


[…] Overton’s Annual Outboard Engine Maintenance Guide […]