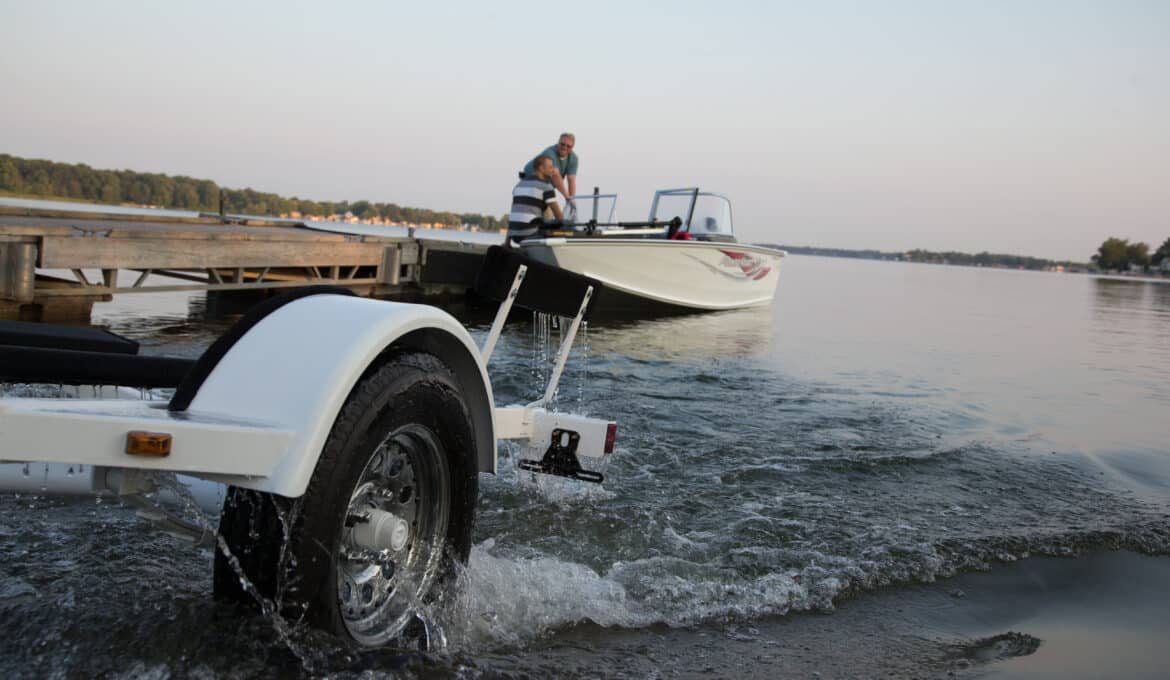
Regarding boat trailer maintenance, checking your hubs and brakes is at the top of the list. These vital pieces of equipment could leave you stranded if you don’t stay on top of them. However, that’s not all you should be doing – checking the wheel studs and spindles is equally important.
In this article, we’ll review everything you need to know about trailer hubs and brakes, from reviewing all the components to maintaining and replacing them.
Defining Common Trailer Axle Components
Before we explain how to inspect and service your trailer, it helps to break down all the parts and their functions.
Axle – The axle is the beam that stretches horizontally underneath the trailer from the driver to the passenger side. It is typically round but can be square. There are two main types: leaf spring and torsion.
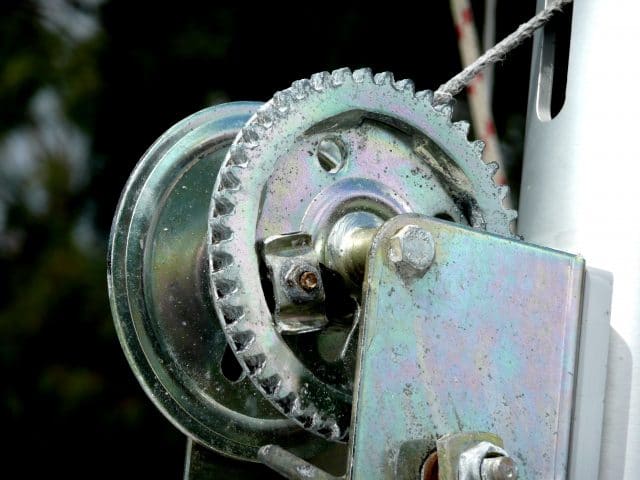
Brakes – Trailer brakes help slow larger trailers down. Most trailers today use electric brakes, but some have hydraulic. Trailer brakes are either drum or disc, with drums being the most common. They attach to the axle using a welded-on brake mounting flange.
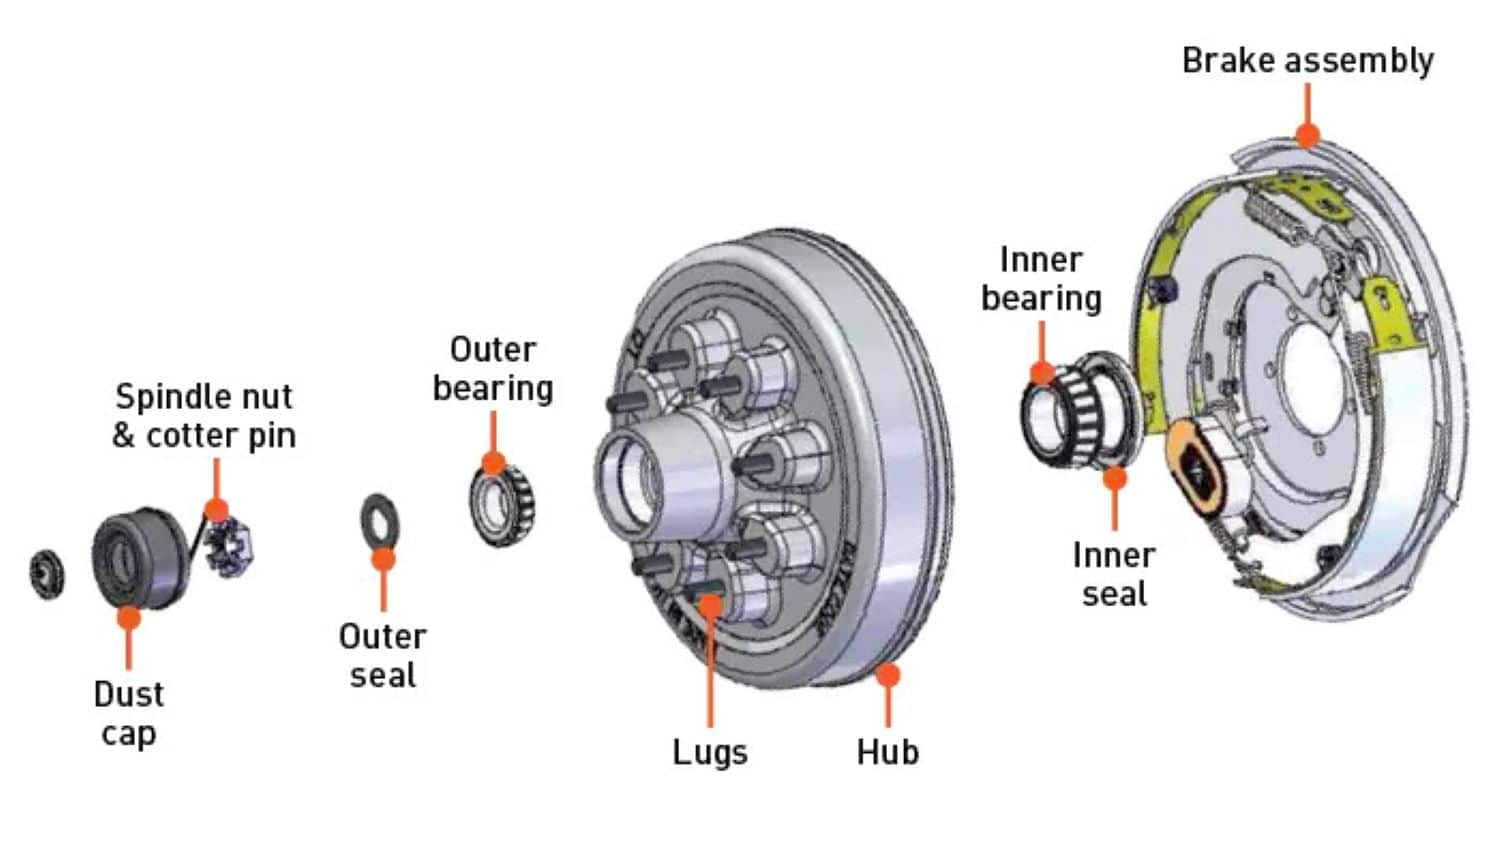
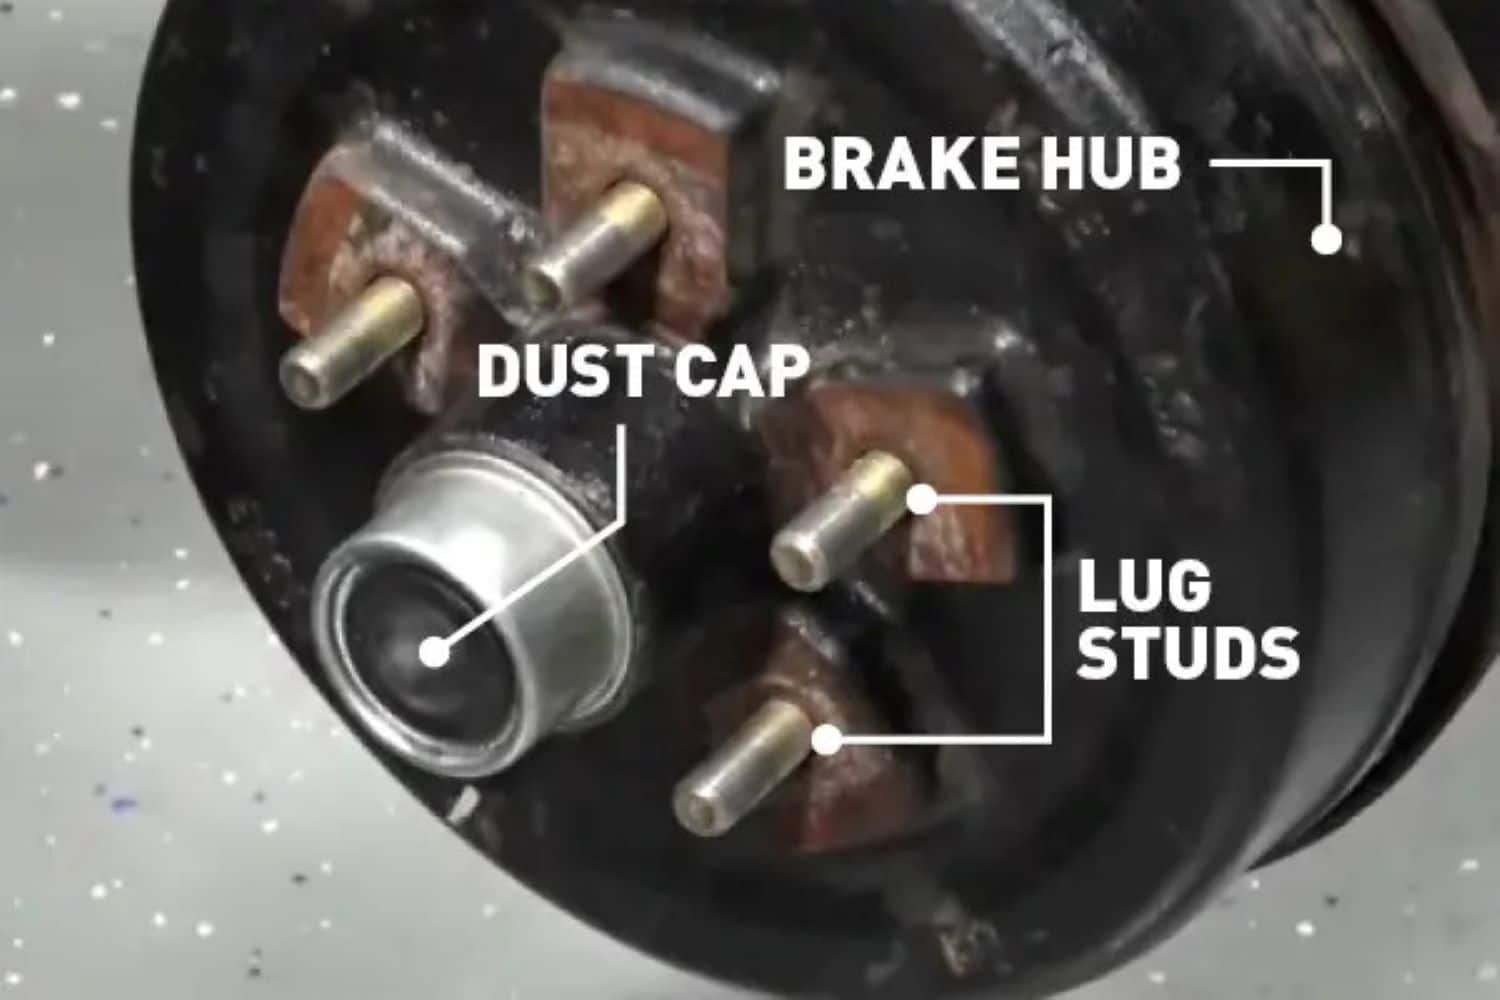
Brake Hub – A brake hub is used with brakes. It houses your bearings and contains the wheel studs necessary to attach the wheel. For drum brake applications, the hub slips over the braking assembly, known as a drum. For disc brake applications, the hub can be built into or separate from the rotor.
Idler Hub – The idler hub works similarly to a brake hub, except that it’s not designed for use with drum brakes. It also contains the bearings and wheel studs for attaching the wheel to the axle. It’s mounted directly to the spindle, not the axle tube.
Spindle – A spindle is a machined piece of metal attached to the end of the axle tube, where the hub rides.
Bearings – Bearings support the wheel’s rotation on the spindle. They are mounted inside the hub. An outer bearing is mounted closest to the wheel, and an inner bearing is mounted closest to the axle.
Race – Bearing races are pressed into the hub, allowing the bearings to sit correctly inside.
Grease Seal – The grease seal is installed behind the inner bearing in the hub. It grips around the spindle, preventing grease from escaping the backside of the hub.
Grease Cap – Like the grease seal, the grease cap is designed to keep grease inside the hub. However, it is installed in front of the outer bearing at the end of the spindle. Some have a removable center section for spindles with a grease fitting.
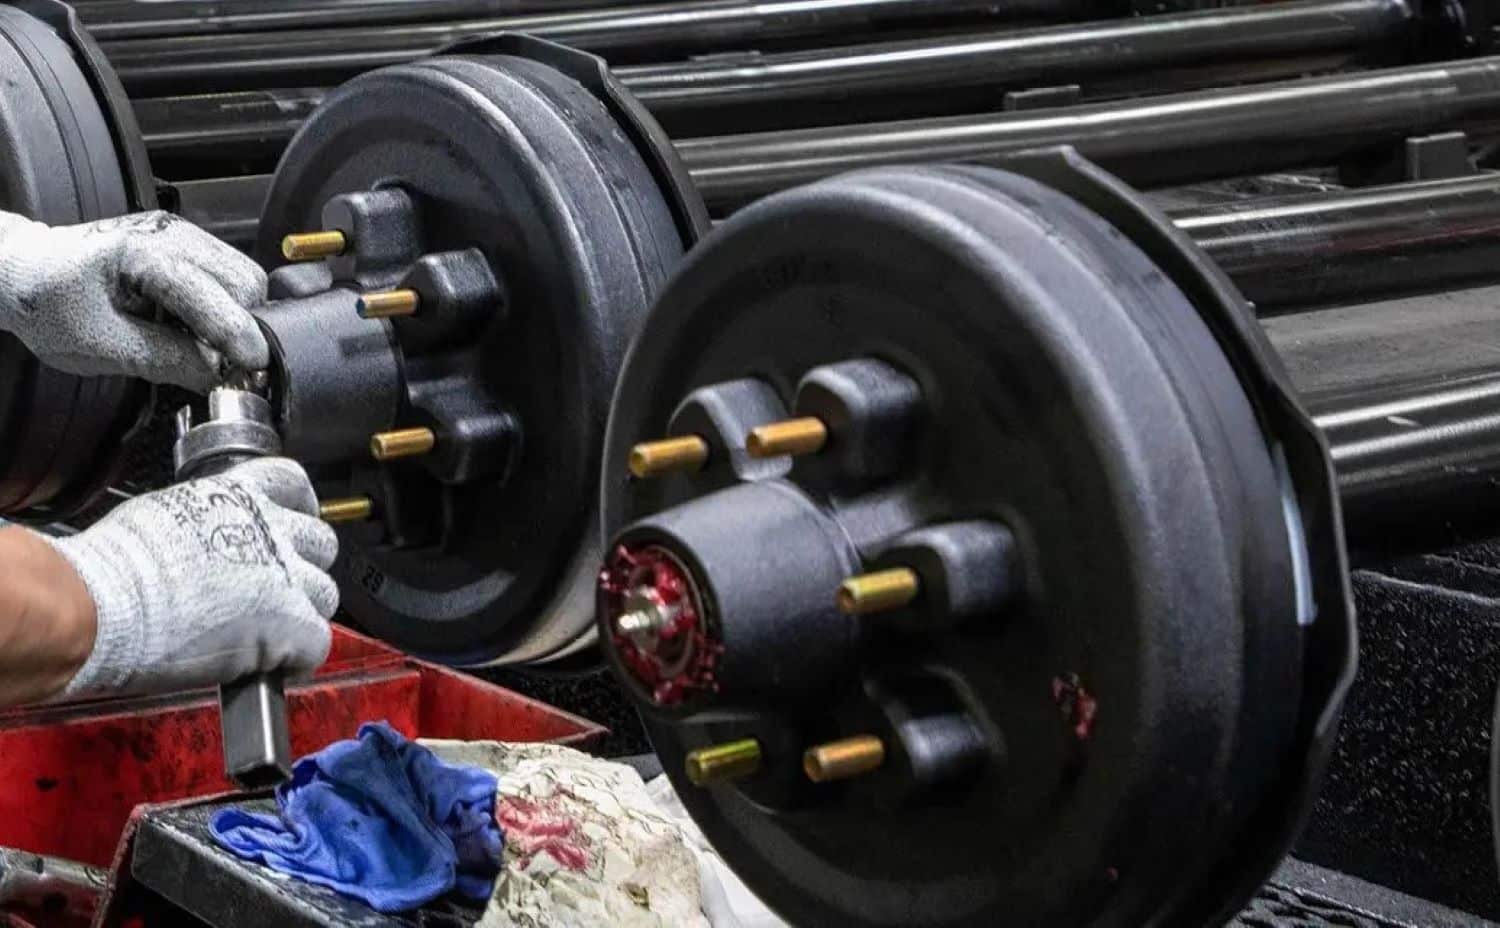
Lug Studs – Lug studs are pressed into the hub and attached to the wheel via a lug nut.
Inspecting Your Trailer Hubs and Brakes
Every year, at the end of the season, you should look over your trailer to see if any repairs are needed in the offseason and address maintenance needs. The first place to look is your tires, but once you’ve gone over them, you’ll need to remove them to look at what’s behind.
The first thing you’ll see with the tires removed are your hubs. Check the hubs for grease. Grease splattered anywhere in front of or behind the hub indicates a leak, and the grease seal and/or cap will need to be replaced. Grab hold of the hub and check for lateral play; if excess play occurs, the hub must be removed and inspected further.
Check each lug stud to ensure it is tight inside the hub and has no movement. If any are loose or broken, they will need to be replaced.
With the trailer supported in the air and the wheels hanging freely, spin the hubs by hand and apply the manual override (electric brake models). You should hear a slight humming sound, and the hub will come to a stop. If not, there’s an issue with your brakes, and further disassembly is required.
Removing the Trailer Hubs and Brakes

If you’ve determined during your initial checks that there’s an issue with the bearings, grease seal, brakes, etc., you’ll need to begin further disassembly. First, you’ll need to gather some tools. Let’s walk through what you need and the process of disassembling your hubs and brakes.
- Large Flathead Screwdriver
- Needle Nose Pliers
- Channel Lock Pliers
- Wire Cutters/Strippers
- Wire Crimpers
- Socket/Ratchet
- Rubber Mallet
- Scrap Block of Wood
Once you’ve gathered the needed tools, you can begin further disassembly.
- Using a flathead screwdriver, remove the grease cap by prying between the lip on the grease cap and the hub, working your way around the cap until it can be easily removed by hand.
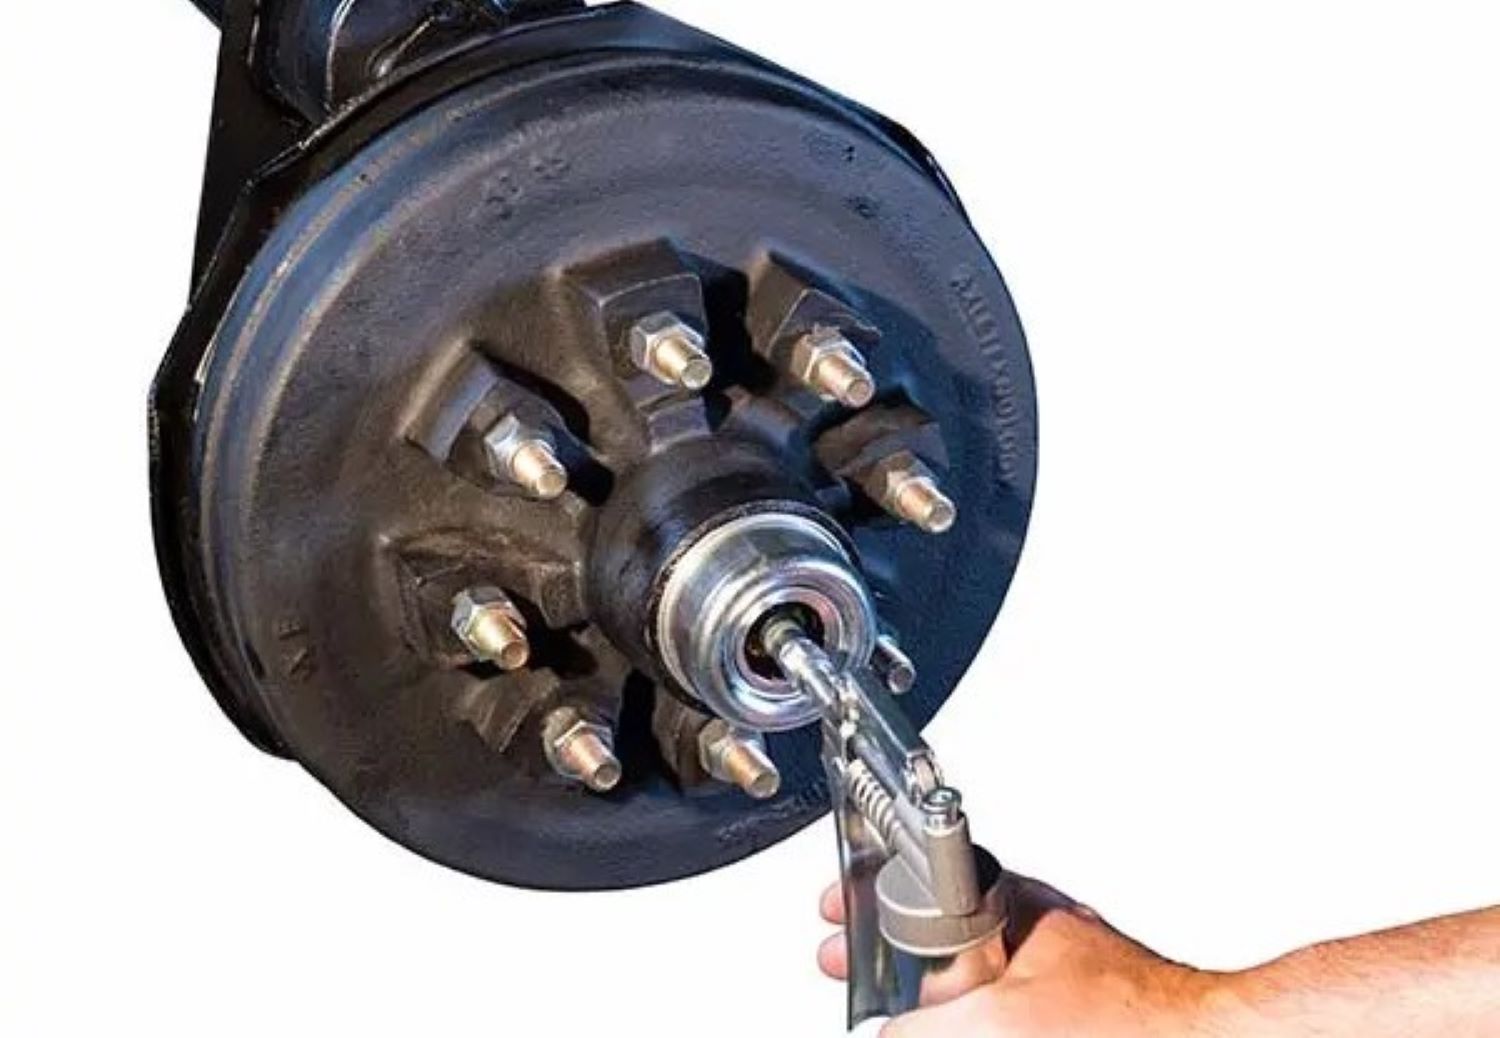
- Remove the cotter pin or the castle nut retainer using your needle nose pliers.
- The castle nut should then thread off by hand, but you can use channel lock pliers if you need help.
- Pull the hub off the spindle and set it aside.
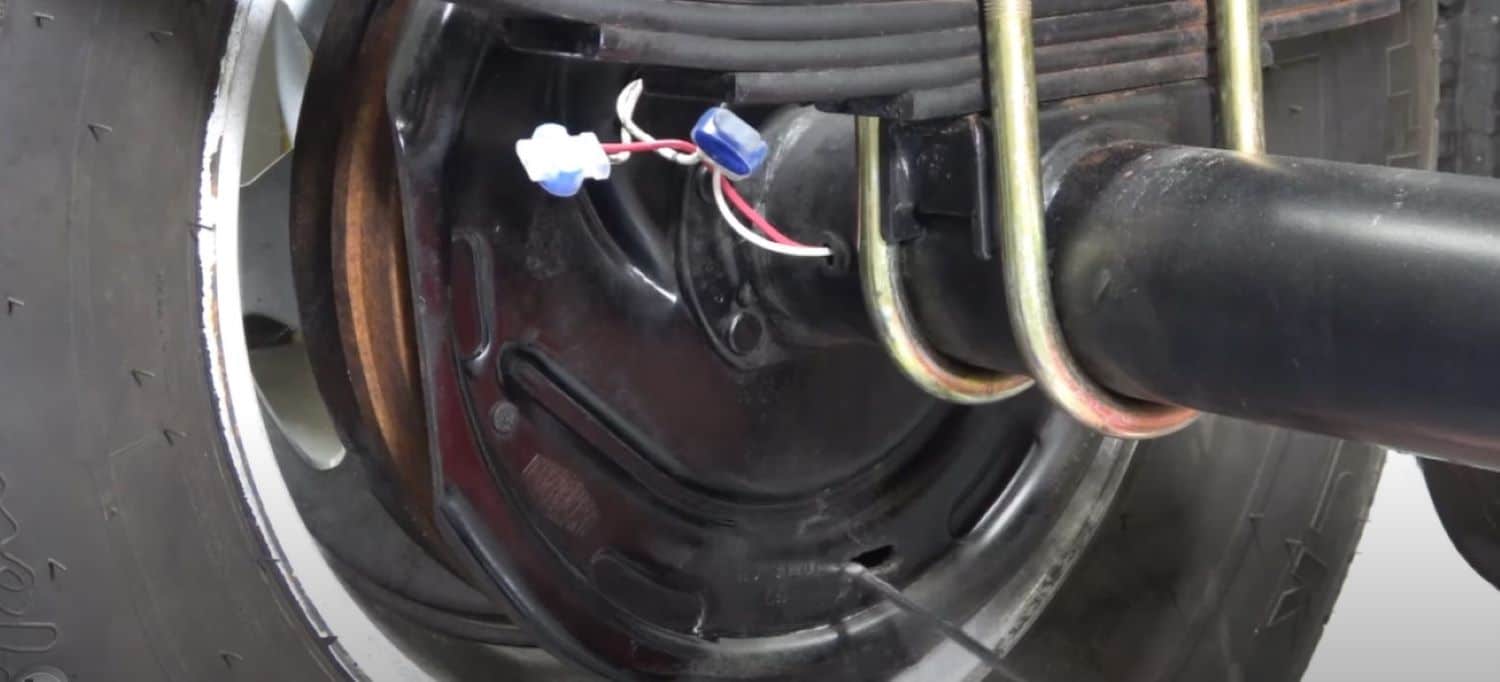
- Cut the wire to the braking assembly and remove the nuts and bolts securing it to the brake mounting flange on the axle tube. (Only required for models with electric brakes)
- Slide the brake assembly off the spindle and set it aside.
Installing New Trailer Hubs and Brakes
- Clean old grease off the spindle and inspect the metal for discoloration or pits. If discoloration or pits are found, the axle must be replaced.
- Slide the new braking assembly over the spindle and secure it to the brake mounting flange with new nuts and bolts. Tighten according to the manufacturer’s specifications.
- Connect brake wires using heat-shrink butt connectors.
- Apply new grease to the spindle.
- Prep hub by packing both inner and outer bearings.
- Insert inner bearings into the hub and install the grease seal with a mallet and block of wood.
- Slide hub assembly onto the spindle.
- Install the outer bearing into the hub, followed by the washer and castle nut.
- Tighten castle nut hand-tight, and then add another ¼ turn with pliers.
- Install cotter pin.
- Use a mallet and wood block to install the grease cap.
How To Measure for Trailer Bearings and Seals
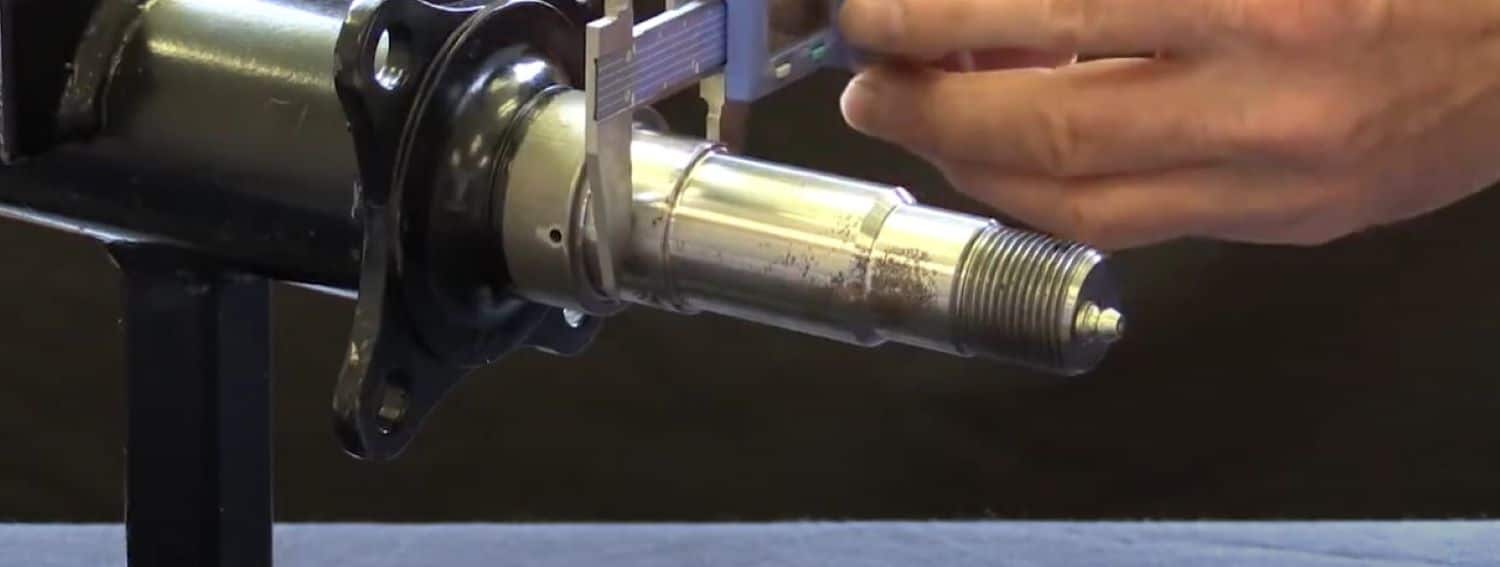
Finding the right bearings and seals for your boat trailer can be challenging. It’s not likely your dealer can look this up for you, so the best way to determine which bearings you need is by measuring. Although you can formulate a good guess by finding your axle capacity, measuring is the only sure way to know. Unfortunately, a tape measure or ruler won’t work for this. You’ll need a caliper so you can measure to a thousandth of an inch.
Measuring the grease seal is easy; simply determine the outer diameter of the spindle where the seal rides and the inner diameter of the hub where the seal sits.
To measure the grease cap, determine the inner diameter of the hub where the cap sits.
You have a few options regarding bearing measurement, but the easiest is to measure the existing bearing’s inner and outer diameter. However, you can also measure the spindle where they ride and the hub where they sit inside the race.
Technician Tip: All bearing and seal measurements must be recorded down to a thousandth of an inch.
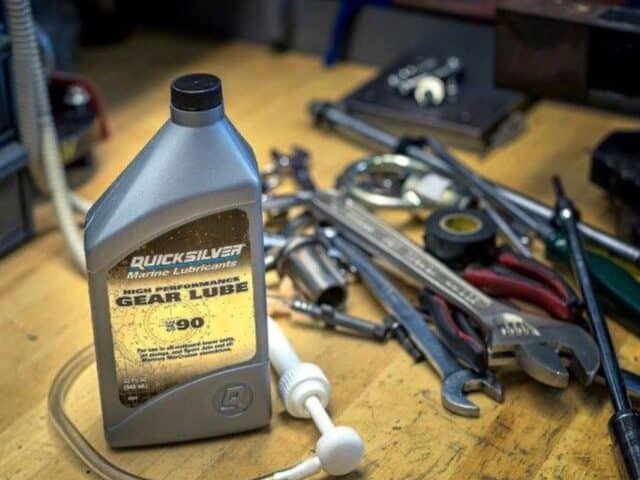
Oil vs. Grease Lubrication
Oil and grease are the two most common types of lubricant used in trailer hubs. Both are great options, each with pros and cons.
Grease is more cost-effective than oil, so this is likely what you’ll see most. It’s also more forgiving, meaning you can still continue down the road with a leak, which is not the case for oil. It does, however, require maintenance annually.
Oil, on the other hand, is a great option for those who might not keep up with maintenance as much since it will last much longer before needing to be changed. It also has an advantage over grease in that mixing old oil with new is usually not a problem, whereas you must be careful when doing this with grease to ensure they are both compatible.
Let’s sum up some points below.
| Grease | Oil |
| Cost-Effective | Less Maintenance Required |
| More Forgiving | No Mixing Concerns |
| Requires Maintenance | Leaks Can Leave You Sidelined |
Adjusting Trailer Brakes
Depending on which type of trailer brakes you have, adjustments may be needed to ensure proper operation. If you have drum brakes, you’ll need to determine if they are self-adjusting or manual adjusting.
The easiest way to do this is by looking at the adjusting mechanism inside the braking assembly. If you have a cable attached to the adjuster wheel, then you have self-adjusting, but if not, you’ll need to turn the adjuster wheel occasionally to ensure even brake wear and performance. This can be done with a screwdriver or brake adjuster spoon.
Dealing with hubs and brakes is simply a part of owning a trailer that everyone has to take care of at one point or another. Hopefully, this article helps shed some light on this, encouraging you to tackle the job of maintenance and replacement yourself. Be sure to read our other trailer articles below.
- The Complete Boat Trailer Jack Guide
- How to Replace Your Boat Trailer Lights
- The Complete Maintenance Guide for Your Boat Trailer
Let us know in the comments below if you’ve ever replaced your hubs or brakes.