When it comes to boating, what are some of the essentials? I’m sure the answer to this question varies by person, but one thing that is almost unanimously on everyone’s list is music. Music is the life of the party and something most boaters can’t live without. Don’t be embarrassed by your old, crackly, distorted speakers on your next outing. Upgrade today to a new set of marine speakers, sure to wow your friends.
Getting Started
Getting started or building the confidence to get started is half the battle. If you are entirely against installing your own electronics, then reach out for professional help. However, if you don’t mind getting your hands dirty and learning a new skill in the process, continue reading.
In this article, we’ll review all the basics to get you back on the water with your favorite tunes.
What are Marine Speakers?
Marine speakers are designed to be used outdoors, on boats and docks. They are made from weather-resistant materials, which makes them highly durable. Marine speakers are built to the highest quality, offering superior sound performance.
Comparing Marine and Automotive Speakers
There are many differences between marine and automotive speakers. The main difference is the construction material. Marine speakers are weatherproof so that they won’t rust or corrode. The cones are polypropylene, and all metal components are corrosion-resistant. Automotive speakers are not weatherproof; most have paper cones and uncoated metal components that would not withstand the harsh conditions aboard a boat.
Heavy-duty speaker covers are also a significant component of marine speakers. Most automotive speakers are hidden behind panels, so speaker covers are not needed. However, up on deck your speakers are right in the firing line of fishing poles, line hooks, sliding coolers, you name it, so extra protection is required.
Marine speakers also tend to offer better performance than automotive speakers as they have much more noise to compete with, such as the engine, crashing wakes, and noisy riders. Therefore, you’ll need better performance to cut through all these background noises.
In summary, marine speakers are more durable and built to a higher quality than standard automotive speakers. This is also why they are almost double the price for comparable models. We don’t recommend using automotive speakers on a boat.
Types of Marine Speakers
The three main types of marine speakers are box, tower, and flush-mount.
Box
Box speakers come in their own enclosure. Therefore, you don’t have to worry about drilling into the boat to mount them. Their sound is also very consistent. The disadvantage of box speakers is that they are bulky and take up a lot of space.
Tower
Tower speakers are also enclosed in their own box. However, unlike box speakers, these are designed to be mounted up high on the ski tower, usually to a round bar. They are bullet-shaped and pointed toward the stern to direct sound to the rear of the boat.
Flush-Mount
Flush-mount speakers are the most common. They require cutting and drilling into the boat for mounting the enclosure. However, they also occupy the least amount of space and provide the best overall aesthetics.
Picking Out Replacement Marine Speakers
Whether you’re replacing old, worn-out speakers or looking to upgrade, we have options. The key features to focus on for finding replacement speakers are size, depth, and power.
Size
The first step when choosing a replacement/upgrade is to determine what size speaker you have. There are many different-sized speakers; the most common on boats today is a 6-1/2” diameter speaker. However, you could also have a 4”, 5”, 8”, or 6” x 9”. The best way to ensure an exact fit is by measuring.
Depth
You must also measure your mounting depth, the distance from the mounting flange to the closest object directly behind the speaker. Not all speakers have the same depth, so you’ll need to consider this when replacing/upgrading. If going with a larger size, ensure you have room around the speaker for this new size.
Power
Power ratings can be somewhat technical, which is off-putting for most beginners. However, there’s really only one power rating you need to pay attention to and that’s the “root mean square” (RMS) measured in watts. Your speaker’s RMS rating should be higher than your receiver/amplifier rating. Otherwise, you’ll risk damaging or “blowing” the speaker. If you are unsure of which option to go with, simply replace the speaker with one that has the same rating so you can ensure it’s appropriate for your receiver. If you change receivers or add an amplifier, you may also need to reevaluate your speakers.
Camping World’s Marine Speaker Picks
Good: Boss Marine MR6W 6.5″ Dual-Cone Speakers

- Size: 6-1/2”
- Power: 180 Watts Peak (Pair)
- Cutout: 5-1/2”
- Depth: 2-3/16”
Better: Jensen 6.5″ High-Performance Waterproof Speakers
- Size: 6-1/2”
- Power: 150 Watts Peak (Pair)
- Cutout: 5-3/4”
- Depth: 2-3/16”
Best: Fusion 6.5″ Flush-Mount Round Marine Speakers
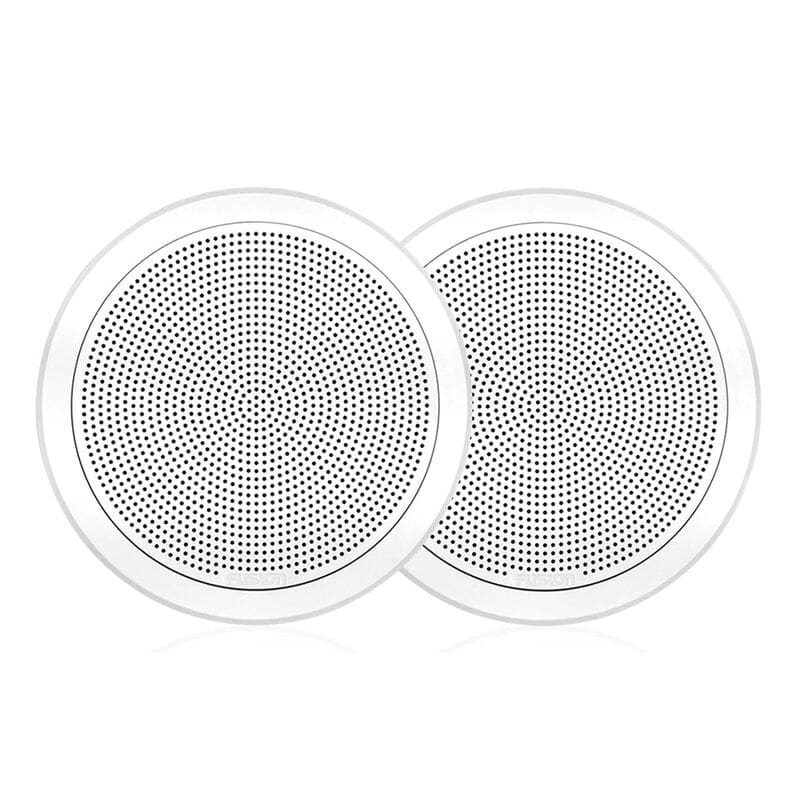
- Size: 6-1/2”
- Power: 120 Watts Peak (Pair)
- Cutout: 5-7/16”
- Depth: 2-3/4”
Do I Need an Amplifier?
Most stereos have an internal amplifier, but that’s not what people are referring to when speaking of adding one. Instead, they’re referring to an external amplifier. An external amplifier increases your speaker’s sound performance, both in output and quality.
Adding an amplifier is an excellent option if you’re building a new system from scratch and want to maximize performance or if you want to get more out of your current setup. Amplifiers utilize the full power of your speakers, so you’ll need to be sure you choose one with the same RMS rating.
Please note that you’ll need larger speaker wires to account for the added power when installing an amplifier.
Marine Subwoofer 101
A subwoofer delivers lower frequencies that traditional speakers don’t reproduce as well. It creates a more vibrant, all-encompassing sound that you can’t get from standard speakers, allowing you to “feel” the sound. Though not an absolute necessity, subwoofers can greatly enhance your listening experience. When installing a subwoofer, an amplifier is a must.
Tools Needed
You don’t need a lot of specialized tools to install speakers on your boat, but there may be a few accessories you don’t have in your tool kit. Let’s look at some typical tools used to install marine speakers.
- Electric Screwdriver/Drill
- Silicone
- Speaker Wire (Usually 12-16 Gauge)
- Wire Cutters/Crimpers
- Wire Connectors
- Electrical Tape
- Razor Knife
- File
- Cutting Tool
Installing Marine Speakers
You can begin installation once you have selected your speakers and the right tools. Your installation process will vary depending on what type of speakers you have and whether you’re replacing or upgrading them. The most common speakers are flush-mount so we will review how to install them.
Replacing
Start by removing the old speakers. Disconnect the negative battery cable. Then, remove the screws securing the speaker to the base. Use a razor knife to break the seal if there is silicone around the base. The speaker should then be ready to be pulled out and away. Cut the wires from the rear of the speaker. Make sure to mark which is power and which is ground.
Now that the old speaker is out, we’ll repeat the same steps but in reverse to install the new speaker. You’ll need to strip back part of the jacket from the speaker wires you cut previously and install new connectors (usually spade terminals). Then, connect the terminals to the speaker and secure the speaker using the appropriate hardware. Test the speaker for proper function prior to sealing with silicone (if applicable). Repeat the process for all other speakers.
Please note that these are general steps to follow, and we always recommend referring to the instructions that came with your speaker for proper installation.
Upgrading
To upgrade, you’ll also start by removing the negative battery cable. Then, remove the old speaker using the steps above. Mark out the space required for the new speaker. Check behind the panel for any obstructions or wires. Prep the surface accordingly and use a cutting tool to remove the material. Once gone, clean up the edges with a file so they are smooth.
You may need to extend your existing wires to reach the new speaker location. Secure the wires to the back of the speaker using the appropriate connectors, then secure the speaker to the base with new hardware. Don’t forget to check the mounting depth to ensure there is room for the speaker to seat appropriately. Test the speaker for proper function by applying power before sealing.
Hopefully, this article gives you the confidence to pull the trigger on those speakers you’ve been eyeing in your cart. Don’t forget to check out some of our other related marine articles:
- Understanding the Basics of DC Marine Wiring
- How to Install a Fishfinder On Your Boat
- How to Choose a Boat Transducer
- Understanding Marine Electronics: Depth Sounders, Fishfinders & GPS
____________________________________________________________________________
Let us know in the comments below what speakers you choose and why.


[…] The Basics of Choosing Marine Speakers for Your Boat […]