Studies show that a broken marine stereo is a great way to ruin an evening on the lake. Marine stereos take a lot of abuse, much more than the stereo in your car. They are subjected to everything from water spray to constant UV exposure. Therefore, you’ll likely have to spend more time fixing and replacing them at one point or another. If you’re lucky and don’t have issues, you may want to upgrade, especially if you’re still using CDs or an AUX cord.
Although replacing a marine stereo may seem like a challenging task best left to professionals, we’re here to show you it can be done by anyone with some basic mechanical knowledge. Let’s dig in to get you back up and rocking on the water quickly.
Choosing a Replacement Stereo
You don’t have to be an audiophile to choose a replacement stereo. You can certainly dive into the details regarding pitch and frequency, but that’s not our goal here. We’ll review the basics—just what you need to get up and running and back to listening to your favorite songs out on the water. Let’s start by reviewing some common terminology and what it means.
Single DIN versus Double DIN
Marine stereos come in a few sizes, most of which are classified as single or double DIN. A single DIN measures 2” tall x 7” wide, and a double DIN measures 4” tall x 7” wide. It’s best to stick with the same size as your existing stereo since that reduces the chance of any needed modifications, but you can certainly go with a larger or smaller stereo if you are willing to modify the opening.
Please remember that not all stereos fall in the single or double DIN classification, so you may need to make modifications to fit a new unit, especially if you’re replacing an older model. The best way to determine this beforehand is by simply measuring your cutout in the dash.
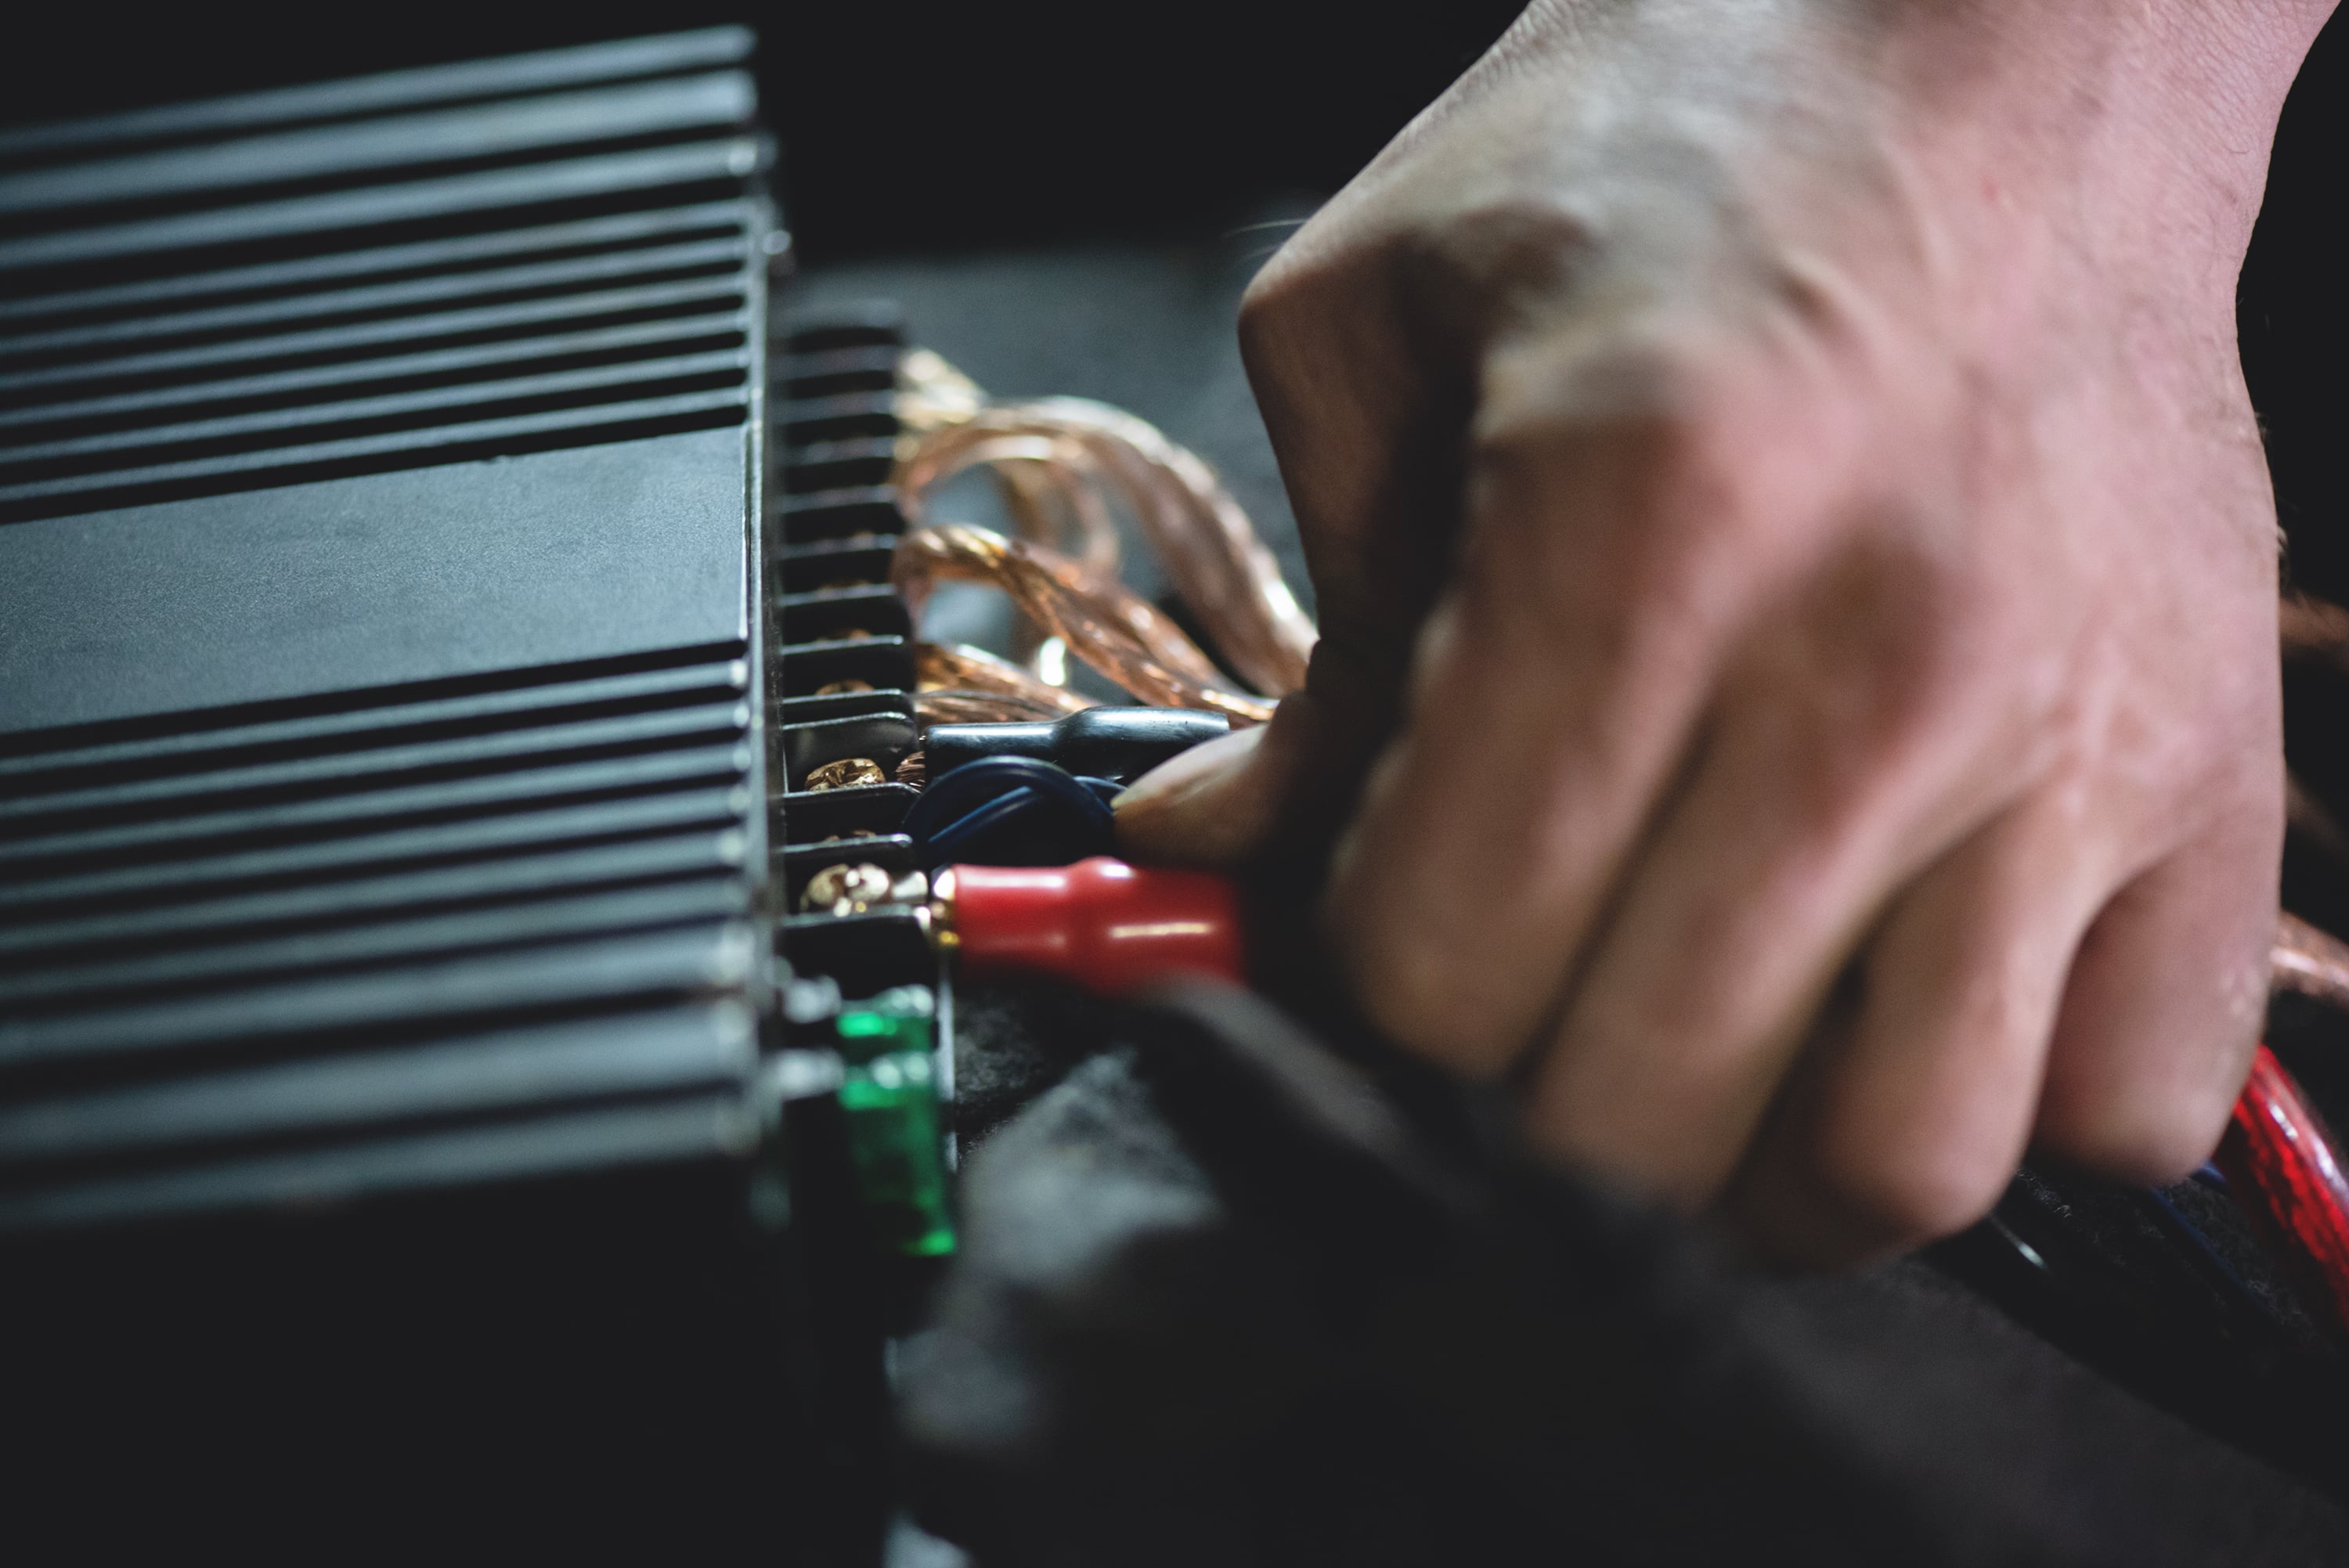
Internal or External Amplifier
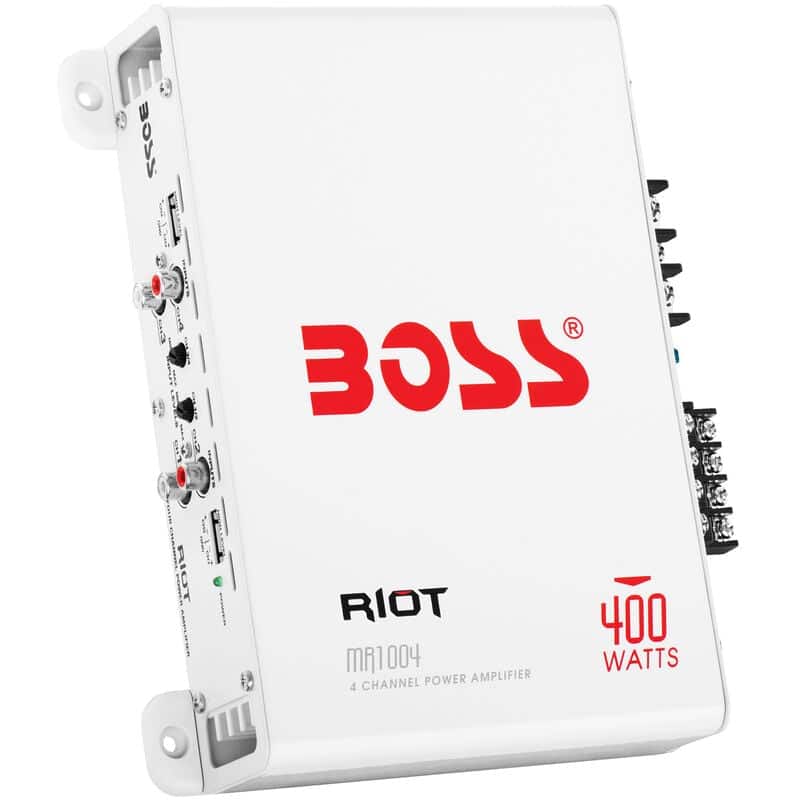
Most marine stereos contain an internal amplifier that boosts power to the speakers. However, you may also have an external amplifier.
An external amplifier will produce the best sound quality, but this also increases installation difficulty and cost. However, if you wish to improve the sound performance of your stereo system, this would be the best time to add an external amplifier.
RMS and Peak Watts
You’ll likely see figures known as RMS (Root Mean Squared) or Peak expressed in watts for the stereo/amplifier and speakers. This is simply a measurement of power. Choosing the correct rating is essential to maintain sound quality and reduce the risk of damage. RMS is the power a speaker can handle for an extended period of time, while peak wattage is the power a speaker can handle in short bursts.
As a rule, you’ll want the speaker’s RMS and peak watts to match the amplifier’s as closely as possible. If not possible, it’s better to have the amplifier rated higher than the speakers than for the speakers to be rated higher than the amplifier. Just be careful of your power setting on the amplifier, as driving too much power to the speakers can reduce sound quality or cause damage.
Multi-Channel Receivers
Most stereos have more than one channel, which allows you to hook up multiple speakers.
For example, a two-channel system expressed as “2.0” means the stereo has an input for a left and right speaker. A five-channel system expressed as “5.0” means you can power three additional speakers, one in the center and one more on each side. There may also be an additional channel for a subwoofer expressed as “.1”. Let’s look at some examples below.
A 2.0-channel system has two channels, while a 2.1 system has two speaker channels and one for a subwoofer.
A 5.0-channel system has five channels, while a 5.1 system has five speaker channels and one for a subwoofer.
You can hook multiple speakers to one channel, but the wattage will be split between both speakers. The resistance rating “ohm” must also be considered, but that increases the knowledge gap considerably, so we’ll stick to one speaker per channel for now.
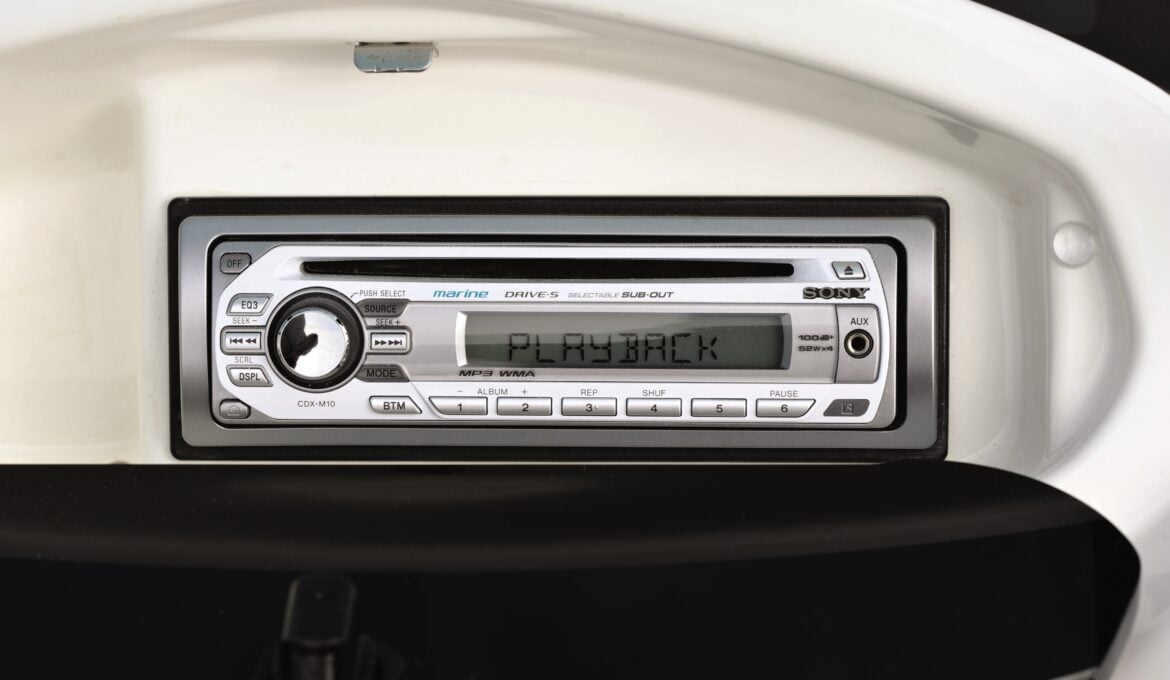
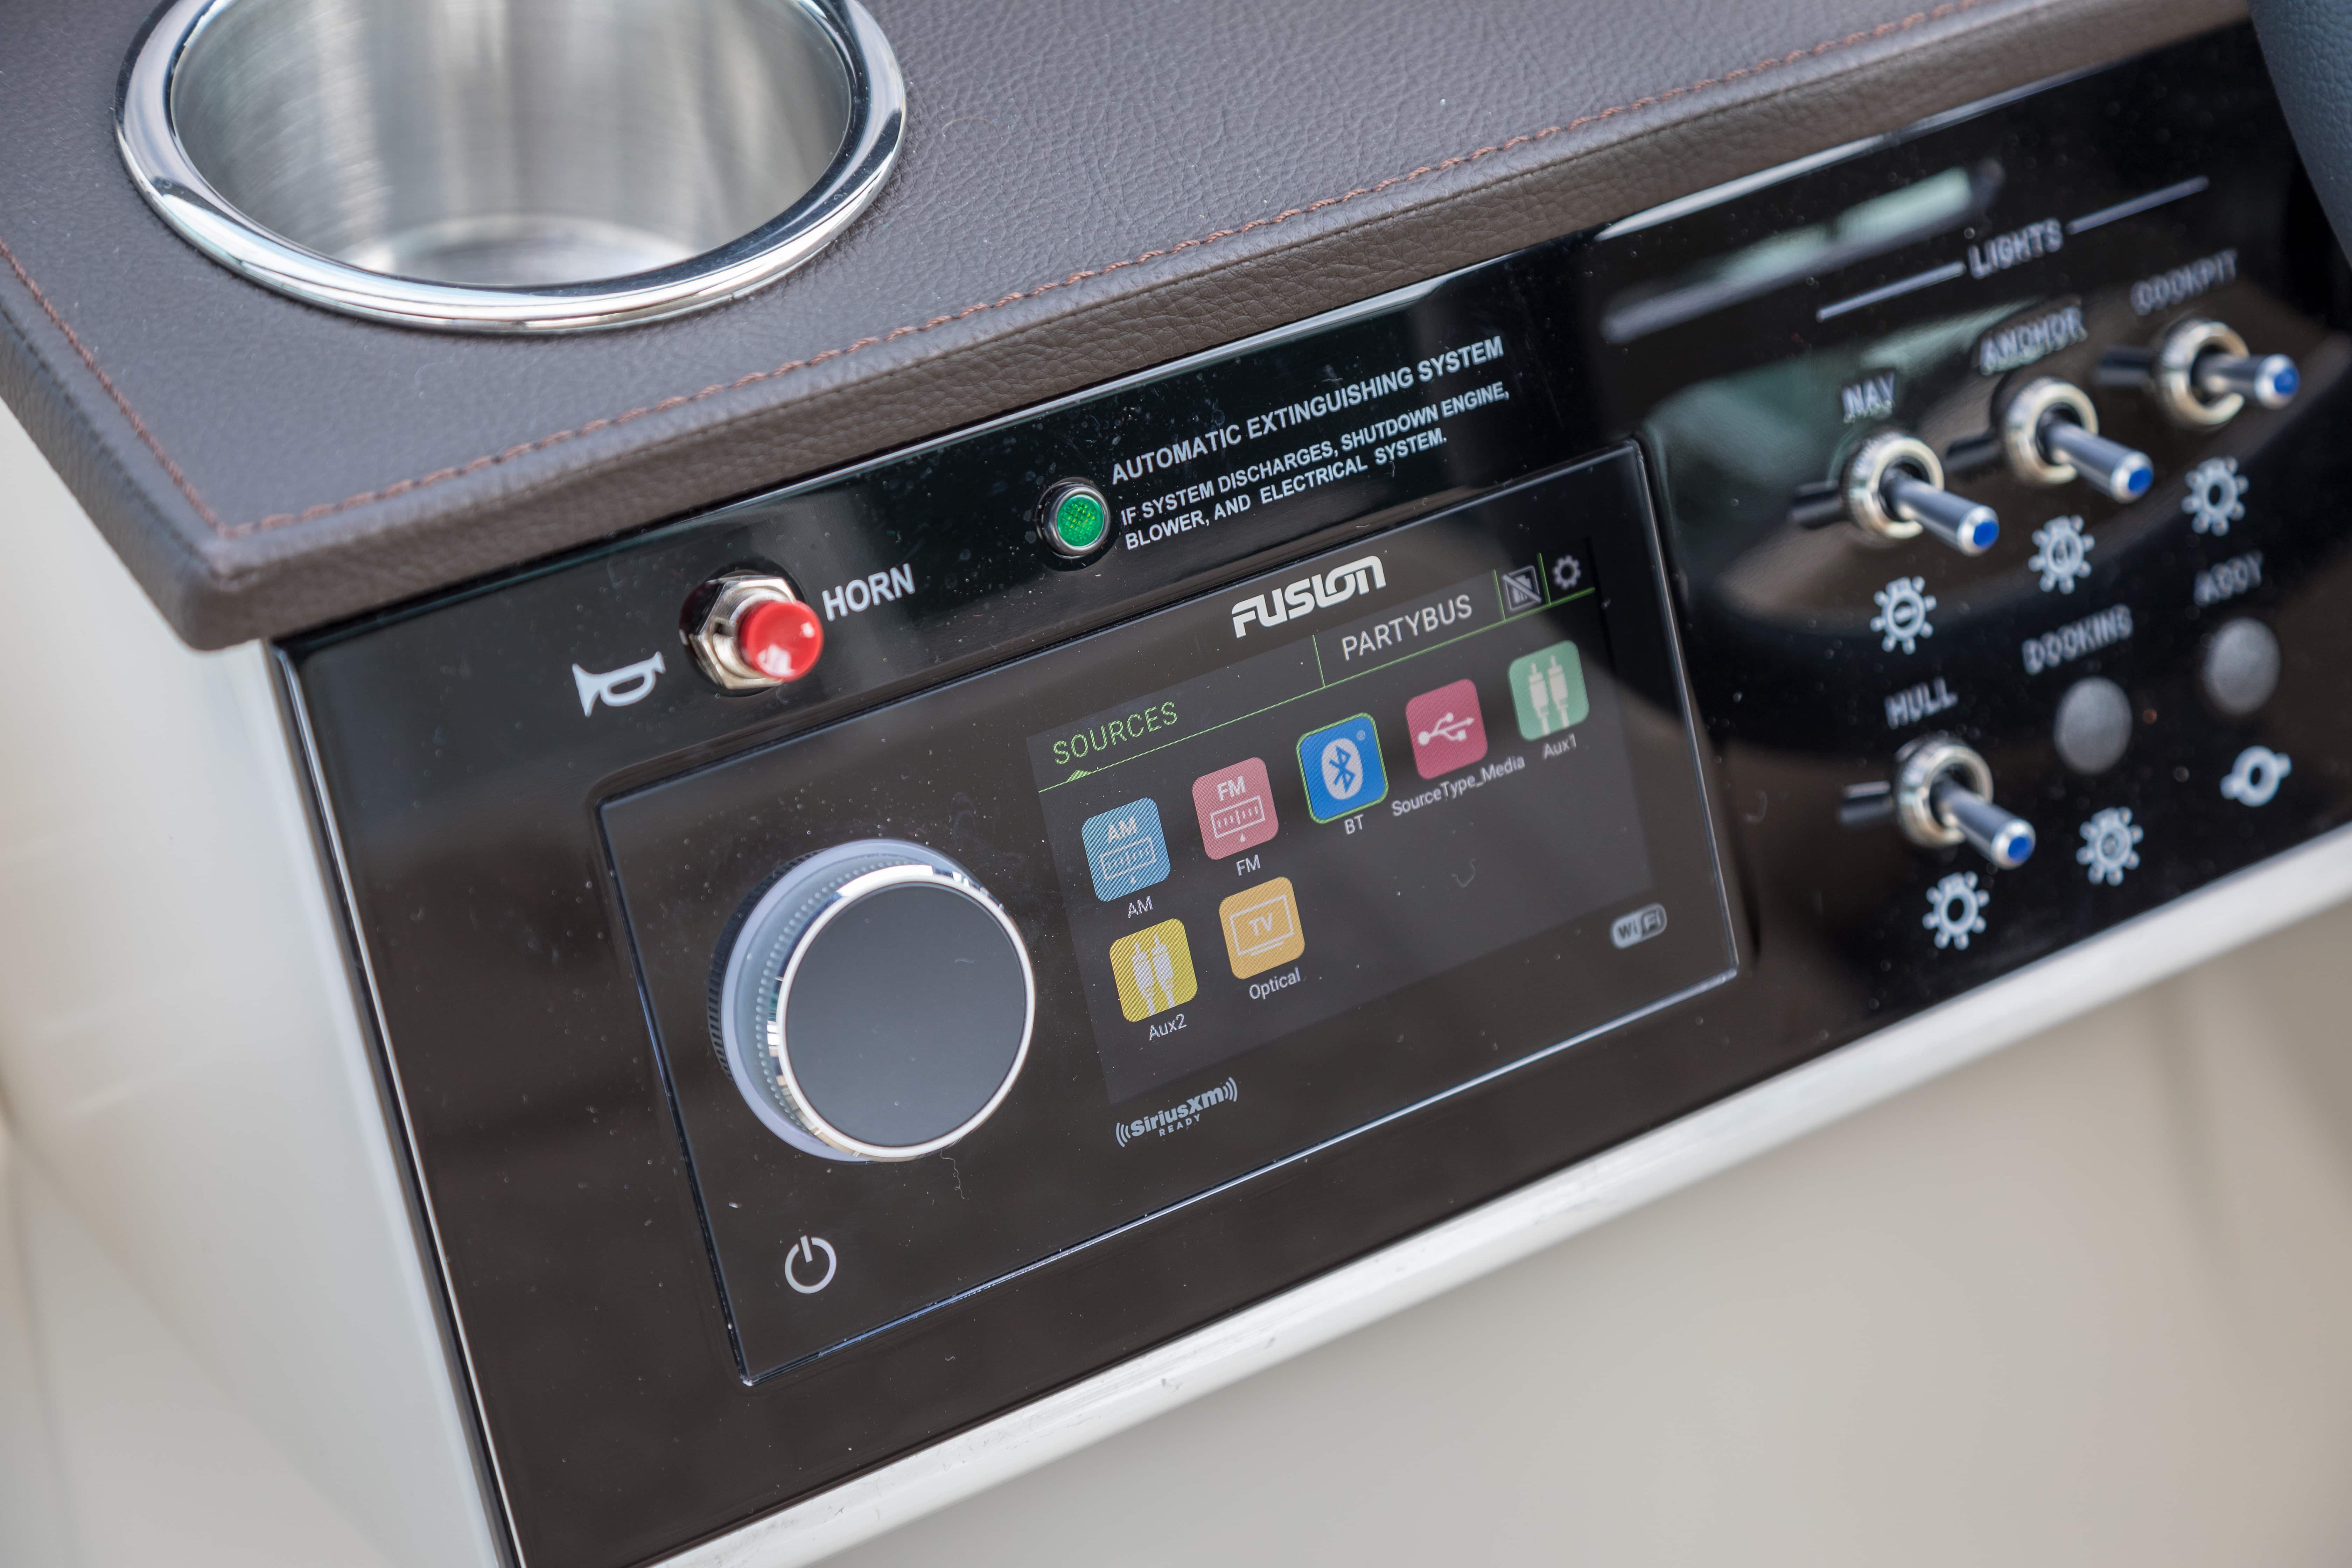
Inputs
Choosing a stereo with an input you will use is important, as the input dictates how you play your music. Here’s a list of some common options:
- USB
- AUX
- CD
- Bluetooth
- Radio
Most newer stereos don’t have a CD drive, so if you still like to play CDs, you’ll need to be sure it has this feature. If you want to listen to satellite radio, make sure the stereo is SiriusXM-ready. If you use streaming apps for music, choose a Bluetooth stereo.
Zone Control
If you want to play music on a specific set or group of speakers, you’ll need a system with multi-zone control. Multi-zone control can be displayed as 2-zone, 3-zone, etc.
For example, if you have a ski boat with tower speakers and want to play music only from those speakers, you do so by grouping them into a zone.
Can I Use a Regular Car Stereo In My Boat?
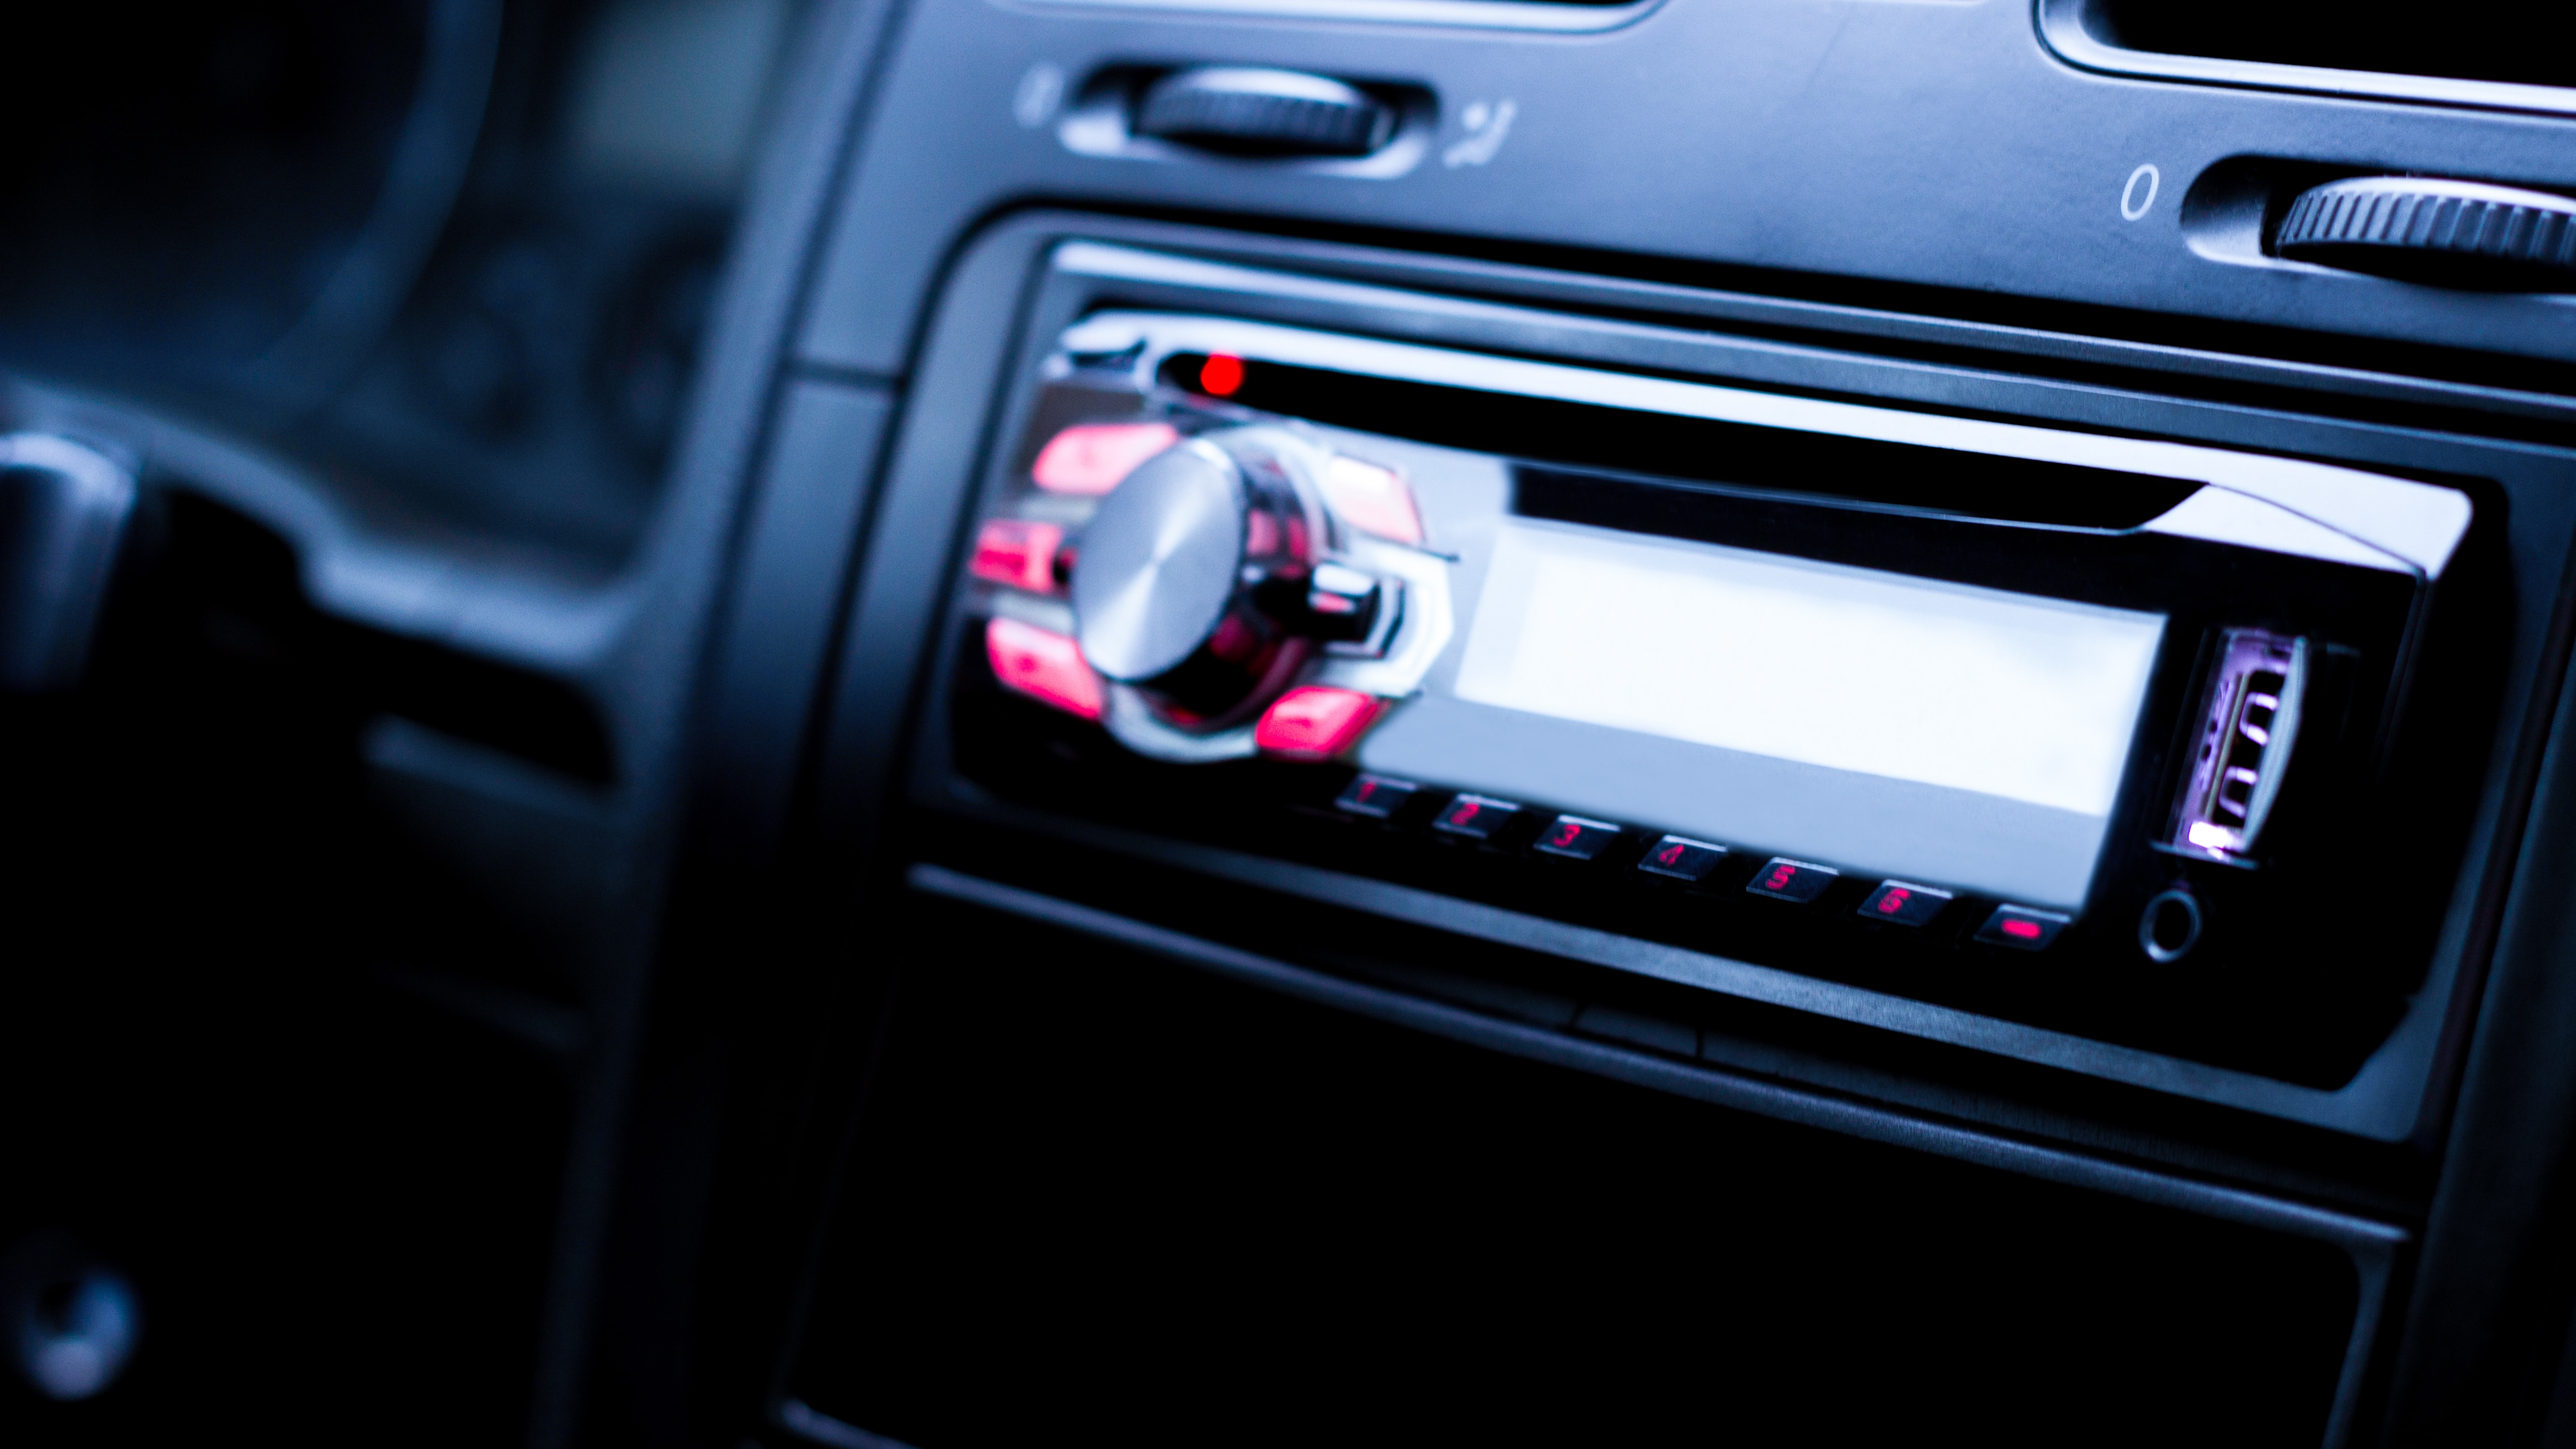
A car stereo uses the same power source as a marine stereo, 12 VDC. Therefore, technically, a car stereo will work in a boat. However, this is not advisable as they simply don’t have the water resistance ratings a marine stereo has.
If you have a ski boat and experience a lot of water spray, a car stereo is out of the question. However, if you have a fishing boat for cruising around the lake and trailer/cover the boat each time you finish, you might be able to get by with a car stereo.
A marine stereo is much more durable and will last longer than a car stereo. It may be cheaper to use a car stereo initially, but in the end, you’ll save money with a marine stereo as you will not have to replace it nearly as often.
Installing Your New Marine Stereo
Once you’ve decided on a replacement, you can begin installation. Gathering the required tools and materials beforehand is a good idea so you aren’t forced to run to the store midway through the process. Let’s review what you might need.
- Screwdriver
- Pry Tool
- Sockets/Wrenches
- Wire Strippers
- Wire Crimpers
- Heat Shrink Butt Connectors
- Heat Gun
- Electrical Tape (Optional)
- Circuit Tester (Optional)
- Cutting Tool (Optional)
These are general steps for removing, installing, and wiring a stereo. For specific instructions, refer to your new stereo’s owner’s manual.
Step 1: Remove Old Stereo
You’ll start by unhooking the negative battery cable on your boat’s battery. If there are no exposed fasteners, remove the outer trim piece on the stereo with a pry tool. You should then have access to the fasteners. Once removed, unplug any connections at the back of the unit. Set the old stereo aside.
Step 2: Prep New Install
Test fit the new unit inside the existing cutout. Pay special attention to the depth to ensure adequate clearance. If the new unit does not fit the existing opening, use a cutting tool to remove excess material. For proper installation, you may need a new trim kit. Contact the stereo manufacturer for more details.
Step 3: Splice New Harness
The plug from the back of the old stereo must be removed before the new harness plug can be installed. Cut the old plug a few inches from the connector using wire cutters. If the wires are not marked, look up a wiring diagram and label them accordingly.
Attach the new wire harness to existing wires using butt connectors and a crimping tool. The new harness should be labeled; attach wires to the old harness by function, NOT BY COLOR. The colors will usually match, but don’t rely on this alone.
Once all wires have been attached, seal all the connectors with a heat gun. I like to wrap the wires and connectors with electric tape afterward, but this is not required with heat shrink butt connectors.
Step 4: Secure New Stereo
Now that the new harness is attached, plug it directly into the back of the unit. Attach all other connections, such as the antenna, subwoofer jack (if present), etc. You’ll then need to mount the stereo using the supplied hardware. Install a trim piece to cover fasteners. Reattach the negative battery cable.
Step 5: Test Stereo
Press the stereo’s power button and wait for start-up. Follow the manufacturer’s instructions for setting up your unit. Test all features and modes to ensure proper installation. If issues arise, check the troubleshooting section of the owner’s manual.
Step 6: Enjoy Your Tunes!
What’s an IP Rating?

Many marine components, such as stereos and speakers, contain IP ratings. An IP “Ingress Protection” rating is essentially the device’s ability to resist dust and liquid. The first digit after “IP” represents the dust protection, and the second digit after “IP” represents the liquid protection.
For example, a device with an “IPX7” rating has no dust protection but is protected against water immersion for up to 30 minutes at a depth of 1 meter. You can reference the chart below for the full list of IP ratings.
| Dust | Water | ||
| IP0X | No special protection | IPX0 | No special protection |
| IP1X | Protected against solid objects > 50mm in diameter | IPX1 | Protected against dripping water |
| IP2X | Protected against solid objects > 12.5mm in diameter | IPX2 | Protected against dripping water when tilted up to 15 degrees from the normal position |
| IP3X | Protected against solid objects > 2.5mm in diameter | IPX3 | Protected against spraying water |
| IP4X | Protected against solid objects > 1mm in diameter | IPX4 | Protected against splashing water |
| IP5X | Protected against dust; limited ingress (no harmful deposit) | IPX5 | Protected against low-pressure water jet spray for at least 3 minutes |
| IP6X | Dust-tight | IPX6 | Protected against heavy jet spray for at least 3 minutes |
| IPX7 | Protected against the effects of immersion in up to 3.29 feet of water for 30 minutes | ||
| IPX8 | Protected against the effects of continued immersion in water depths greater than 3.29 feet. The exact conditions are specified for each device by the manufacturer. | ||
Music is an important part of boating, so don’t be left with a broken or outdated stereo the next time you hit the water. We hope you found this guide helpful.
Let us know in the comments below what stereo you have in your boat!